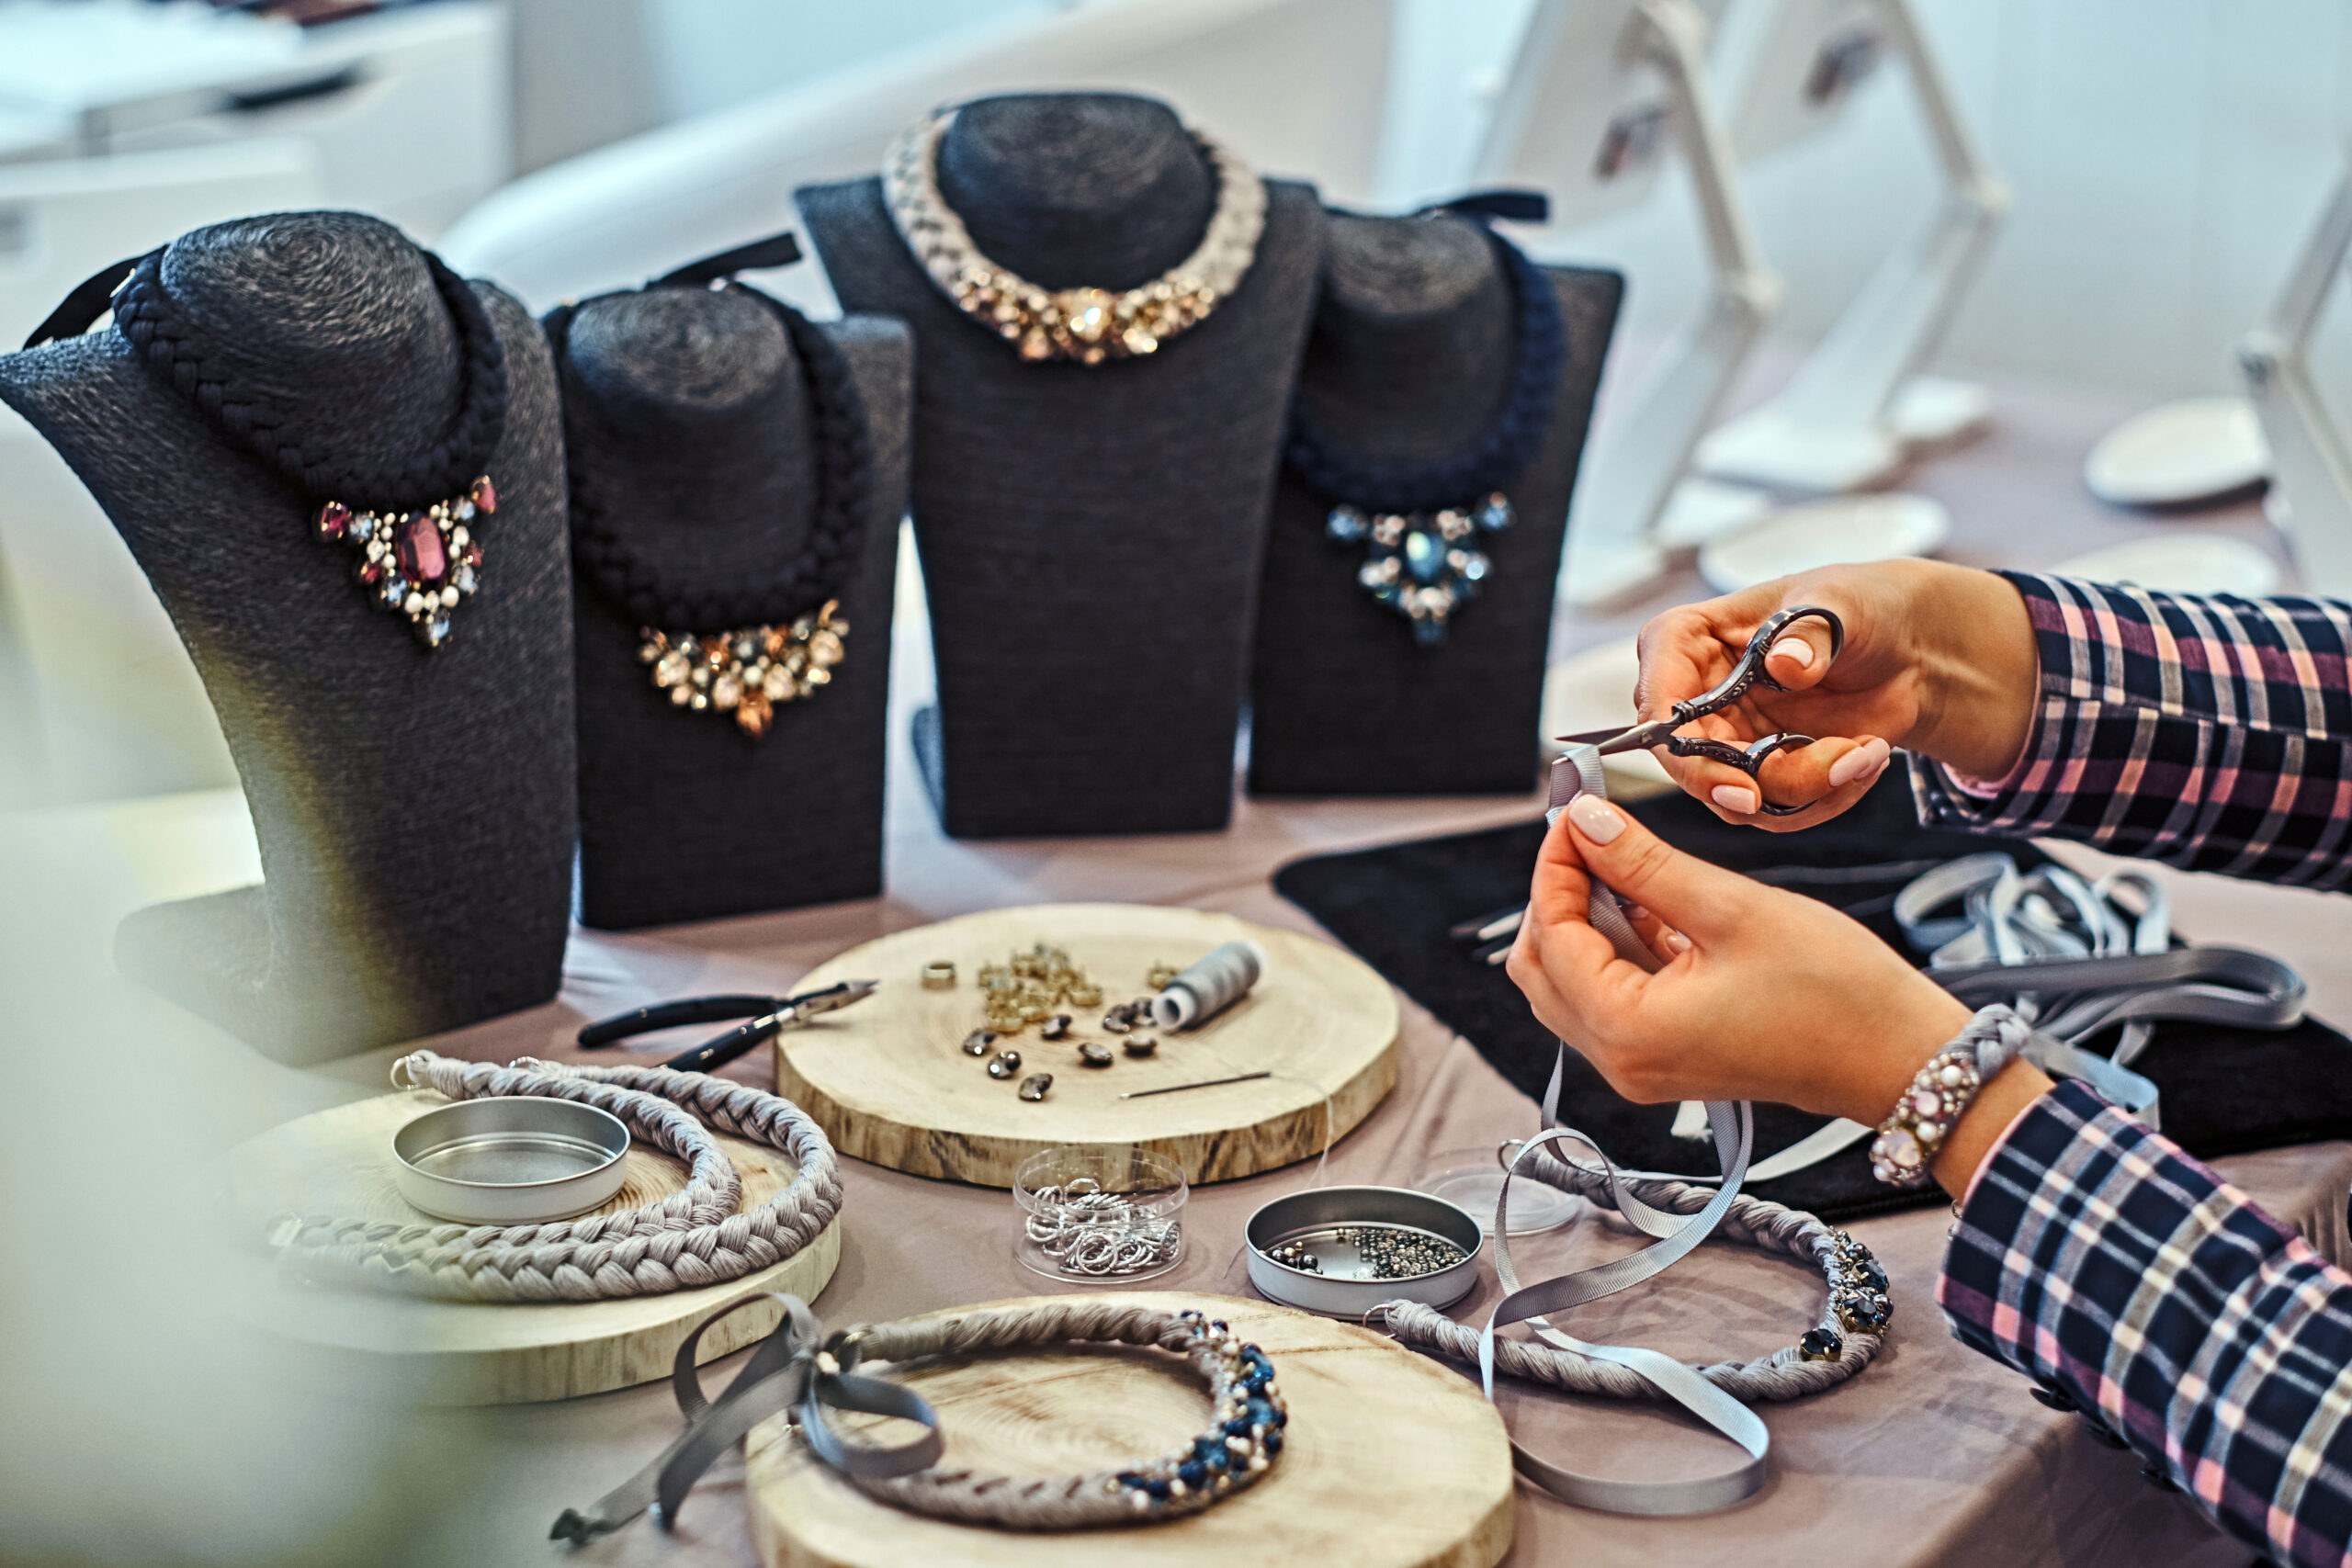
How to Sell Custom Jewelry Online with WooCommerce

Custom jewelry is one of the most profitable product categories in eCommerce. A piece of jewelry with someone’s name, a meaningful date, or a heartfelt message becomes more than an accessory — it becomes a story. And people pay significantly more for stories than for objects.

If you already sell jewelry online or you are planning to, adding personalization to your products could be the single biggest decision you make for your business.

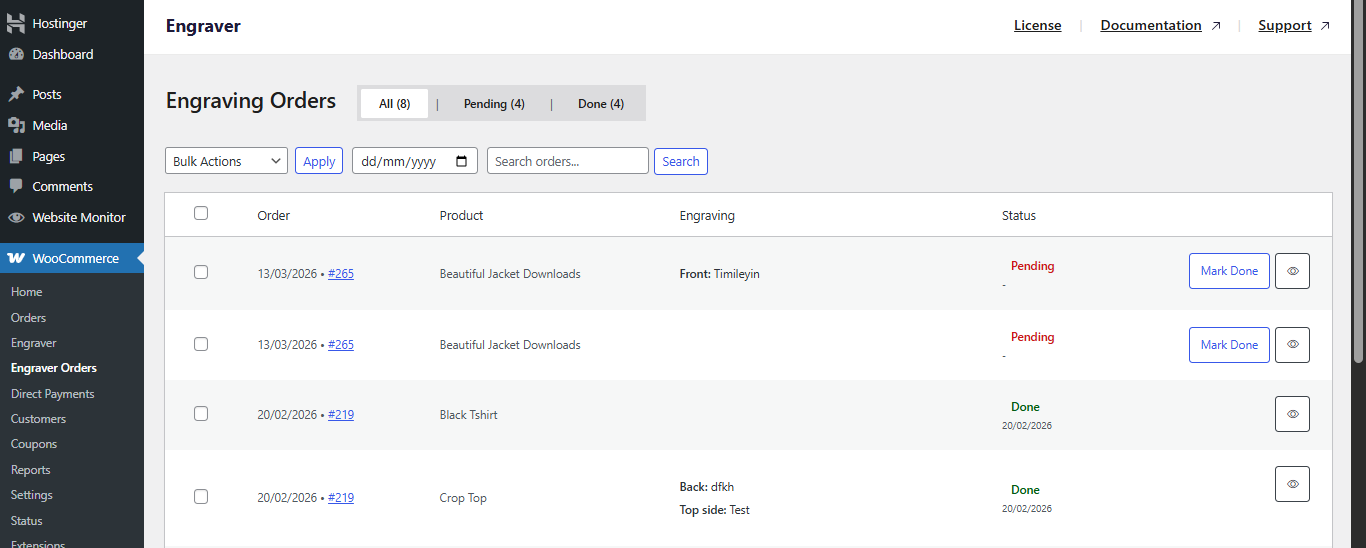
In this guide, we will walk you through exactly how to sell custom jewelry with WooCommerce — from setting up your store to managing engraving orders efficiently.

Why Custom Jewelry Is Such a Powerful Product

Jewelry already carries a strong emotional weight. It marks milestones — engagements, anniversaries, graduations, birthdays. When you add customization to that, you amplify the emotional value significantly.

Consider the market data: The profit margins for jewelry makers and sellers can vary widely, though jewelry profit margins average around 42.6%, and that is before you factor in the premium customers pay for personalized pieces. A simple silver ring might sell for $30. The same ring with a custom engraving becomes a gift, and customers will willingly pay $60, $80, or more for it. The engraving fee is not the only revenue boost — the emotional value of the product commands a higher price point across the board.

Custom jewelry also benefits from year-round demand. People buy personalized jewelry for:

  • Valentine’s Day: Name necklaces, engraved rings, and bracelets with meaningful dates.
  • Mother’s Day and Father’s Day: Pieces engraved with children’s names or family initials.
  • Weddings and anniversaries: Custom wedding bands, personalized bridesmaid gifts, engraved couple’s bracelets.
  • Birthdays and graduations: Pieces that mark a milestone with a name and date.
  • Everyday gifting: Personalized jewelry is consistently among the top gift categories purchased online.

Tip: Build seasonal landing pages for your WooCommerce store around each key gift occasion. A dedicated “Mother’s Day Personalized Jewelry” page with curated product selections and a clear customization workflow converts far better than sending customers to browse your full catalog.

What Types of Custom Jewelry Can You Sell?

If you are not already sure what to offer, here are some of the most popular and commercially successful options:

  • Engraved rings: Wedding bands, promise rings, and signet rings with names, dates, or short messages on the inner or outer surface.
  • Name necklaces: Necklaces with a customer’s name written in a chosen font or style. One of the top-selling personalized items online.
  • Engraved bracelets: Bangle and chain bracelets with custom text on the surface or a bar charm.
  • Birthstone jewelry: Pieces featuring a gemstone chosen by the customer based on birth month.
  • Photo lockets: Lockets the customer fills with a personal photo — a classic that continues to sell well.
  • Engraved watches and cufflinks: Perfect for corporate gifts and groomsmen sets.

Beginners are often advised to start with one or two core product types and do them exceptionally well, rather than building a wide catalog from day one. Pick what you can source and fulfill reliably, then expand.

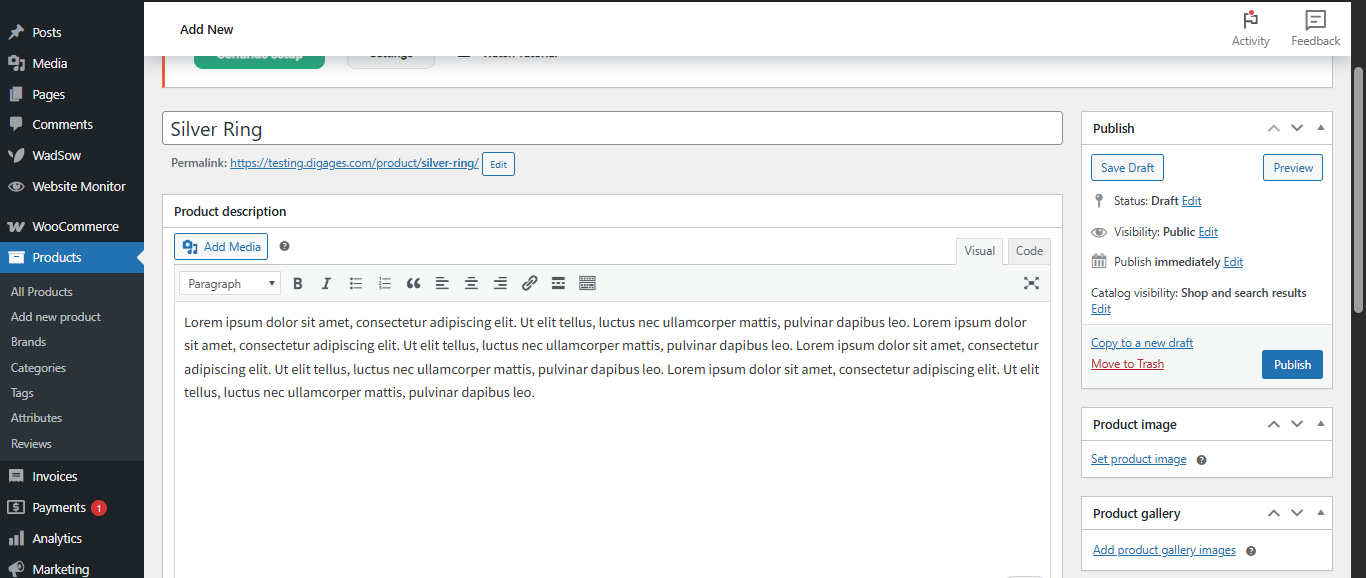
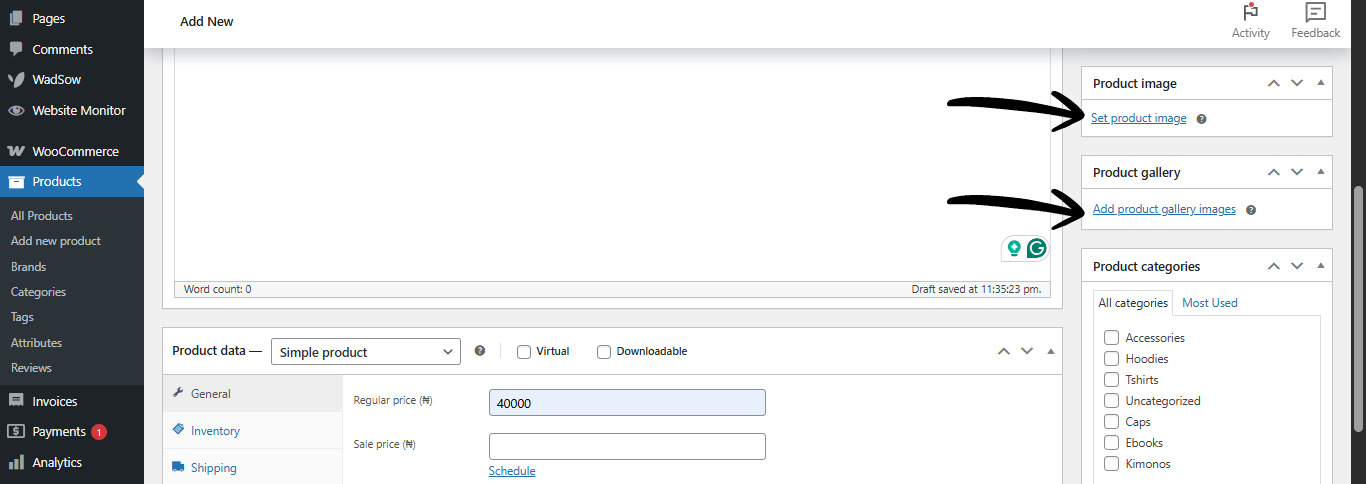
Setting Up Your Online Store

Step 1: Setup Your WooCommerce Store For Jewelry Showcase

We start by adding a jewelry item to your WooCommerce store:

  • To add a jewelry item to your WooCommerce store, open your WordPress dashboard and go to Products → Add New.
  • Then, proceed to add a name to the products, add a product description, and scroll down to the Product Data section.
  • Be sure that the product type is chosen as a Simple Product, then proceed to add an appropriate price to the jewelry item.

More particularly for a jewelry store, pay particular attention to:

  • Product photography: Jewelry is a visual product. High-quality, well-lit product photos on clean backgrounds are non-negotiable. Consider showing the piece on a model as well as on a plain surface.
  • Detailed product descriptions: Specify the material (sterling silver, stainless steel, 14k gold), dimensions, and any relevant care instructions.
  • Categories: Organize your catalog by type (Rings, Necklaces, Bracelets) so customers can browse easily.

Step 2: Install Engraver for WooCommerce

Here is the critical part. Out of the box, WooCommerce only lets you offer product variations like metal type (gold or silver) or ring size. It does not let customers submit engraving text, upload photos, or enter long messages directly on the product page. You need a plugin for that.

For jewelry stores, Engraver for WooCommerce is designed precisely for this scenario. It allows you to:

  • Create engraving templates: Build a template for your ring category that asks for front and back text, then apply that template to every ring in one step.
  • Accept text, images, and long messages: Some jewelry includes photo engraving that links to a personal message — Engraver supports all of these in the Pro version.
  • Set character limits: Tell customers exactly how many characters will fit inside a ring or on the surface of a bracelet. This prevents fulfillment errors before they happen.
  • Charge for customization: Add a flat fee for engraving, or set different prices for text versus image input.

Engraver helps you enforce these directly on the product page.

You can learn more about Engraver for WooCommerce.

Step 3: Build Your Engraving Template

Here is how the template setup works with Engraver for WooCommerce:

  1. Go to WooCommerce > Engraver > Add New Template.
  2. Name your template something descriptive like “Ring Engraving” or “Bracelet Personalization.”
  3. Set the template heading that customers will see — something like “Personalize Your Piece.”
  4. Choose the sides that can be customized. For a ring, this might be “Inner Band” and “Outer Band.”
  5. Select the input types for each side — text engraving is the most common, but you can also allow image uploads for photo engraving.
  6. Set your character limit for inputs. A standard ring inner band, for example, might fit 20-30 characters depending on font size.
  7. Configure pricing — choose whether customization is included in the product price or whether you want to add a fee.
  8. Assign the template to your rings category, and every ring in that category will now show the customization fields automatically.

Check out this complete setup guide to configure it for your jewelry store.

Step 4: Add Product Images That Show the Customization

One of the most powerful things you can do for your jewelry store is show real examples of personalized pieces in your product photos. A photo of a ring with actual engraving on the inside — even if it says “Sample” — gives customers confidence that the end result will look professional.

Consider including:

  • A main product photo: The plain piece of jewelry on a clean background.
  • An engraving example photo: A close-up showing a sample engraving so customers can see the font, depth, and style.
  • A lifestyle photo: The piece being worn by a model. For gift products, a photo of someone opening a personalized jewelry box can be very effective.

Great product photography is often the single biggest driver of conversions for jewelry stores, even more than price. Invest in it.

Step 5: Manage Your Engraving Orders

When a customer orders a personalized piece, you need to know exactly what they requested — with zero ambiguity. If you are manually digging through WooCommerce order notes for each engraving detail, you will eventually make mistakes. And mistakes in jewelry engraving are costly and time-consuming to fix.

Engraver for WooCommerce gives you a dedicated Engraver Orders dashboard. Every order that includes a personalization request appears here:

  • The product name: So you know which piece is being customized.
  • The customer’s customization details: Exactly what they entered for each field — text per side, uploaded images, etc.
  • The order status: Whether the engraving is pending or completed.

Your production team can open each order, review the specifications, download any uploaded files, and mark the order Done when the piece is ready. This structured workflow prevents confusion and keeps your fulfillment running smoothly.

Conclusion

Custom jewelry is one of the most rewarding product categories to sell online, both in terms of profit margins and customer satisfaction. With the right setup — clear product pages, a reliable customization plugin, and an organized order management workflow — you can build a strong, sustainable jewelry business on WooCommerce.

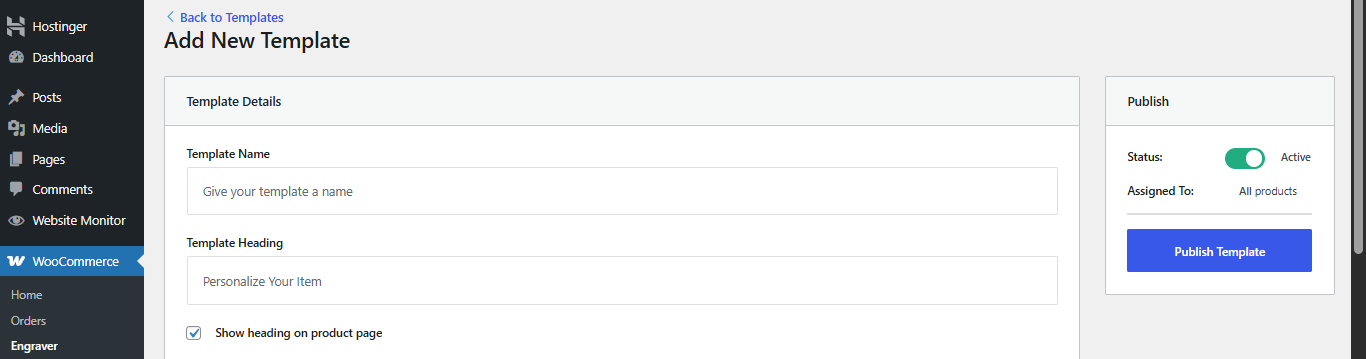
Get started with Engraver for WooCommerce and check out the Complete setup and usage guide to have your first custom jewelry product ready for orders today.