Why Designers Prefer SVG Over PNG
If you have spent any time designing for the web, someone has almost certainly told you to “just use SVG.” But the advice rarely comes with a proper explanation, and without one, switching formats can feel like guesswork.
This guide cuts through the noise. SVG vs PNG is not a matter of one format being universally better. It is about knowing which tool solves which problem, and then having the workflow to implement your choice efficiently.
By the end of this post, you will understand exactly why designers prefer SVG over PNG for logos, icons, and UI elements, and the specific situations where PNG still makes more sense. You will also see how WordPress users can edit and customise SVG assets directly inside the dashboard with SVG Editor, without touching Illustrator or Figma.
Let’s start with the basics, because even experienced developers sometimes mix up what these two formats actually are.
What Is SVG?
SVG stands for Scalable Vector Graphics. Unlike image formats that store colour information pixel by pixel, an SVG file stores mathematical instructions that describe shapes, paths, and colours.
Think of it this way: a PNG of a circle stores thousands of coloured pixels arranged in a circular shape. An SVG of the same circle simply says “draw a circle at coordinates X, Y with radius R and fill it with colour #3B82F6.” The browser then draws it fresh every time, at whatever size is needed.
Because the browser draws the image from instructions rather than reading a grid of pixels, an SVG looks just as sharp at 10 pixels wide as it does at 1000 pixels wide. There is no blurring, no pixelation, no quality loss.
SVG is the format of choice for anything that needs to look crisp and clean, regardless of screen size, logos, icons, UI components, simple illustrations, charts, and brand marks.
What Is PNG?
PNG stands for Portable Network Graphics. It is a raster format, meaning it stores images as a grid of pixels. Each pixel has a specific colour value, and together they form the complete image.
PNG supports transparent backgrounds (alpha channel), which made it the default choice for web graphics when JPEG transparency was not an option. It also uses lossless compression, so it does not degrade image quality the way JPEG does.
The catch is resolution dependency. A PNG looks perfect at the size it was created for. Scale it up, and you start to see blurring and pixelation because the browser is simply stretching a fixed grid of dots.
PNG genuinely excels in:
- Photographs and photorealistic images
- Graphics with fine gradients, textures, or complex shading
- Screenshots and screen recordings
- Images generated by AI tools or camera exports
- Graphics that contain hundreds of individual colour values that are not suited to vector description
Why Designers Prefer SVG Over PNG
Ask any experienced web designer why they reach for SVG first, and you will hear the same reasons repeated. Each one solves a real, daily frustration. Here are the six that matter most.
1. Perfect Scalability on Every Screen
Screen sizes in 2025 range from small smartwatches to 8K monitors. Designing separate image assets for every possible resolution is simply not sustainable.
With SVG, you create one file, and it scales cleanly to any dimension. The browser recalculates the paths at whatever size the image needs to be displayed. No blurring. No pixelation. No multiple exports.
Consider a company logo. If you use a PNG logo at 200x60px and it ends up displayed in a 400x120px space, perhaps inside a large hero section on a tablet, the browser stretches the pixels, and the logo looks soft. The same logo in SVG renders with crisp, sharp edges at any size.

2. Retina and High-DPI Display Support Without Extra Work
Retina displays and their Android equivalents render at 2x or 3x pixel density. To look sharp on these screens, a PNG needs to be exported at 2x or 3x the intended display size.
That means maintaining multiple versions of every asset: logo.png, logo@2x.png, logo@3x.png. More files. More storage. More maintenance.
SVG sidesteps this entirely. Because it is drawn mathematically at render time, it always fills every available pixel regardless of display density. One file, perfect quality everywhere.

3. Significantly Smaller File Sizes for Simple Graphics
A common misconception is that smaller images mean smaller files. In raster formats like PNG, file size is determined by the number of pixels. Even a simple logo at 300x100px can weigh 20–50 KB once exported.
A well-optimised SVG of that same logo might be 2–5 KB. For a site with dozens of icons and UI elements, the cumulative savings are meaningful. Lighter pages load faster, and faster pages rank better.

4. Fully Editable: Change Colours Without Opening Design Software
This is the feature that makes SVG genuinely practical for day-to-day work. Because SVG is XML code, individual colours are defined as text values inside the file. Changing a fill colour is as simple as changing a hex value.
In practice, this means:
- An icon library purchased in one brand colour can be recoloured to match any client’s palette without going back to a designer
- A badge or label can be updated for a seasonal promotion by changing one line of code
- Dark mode variants can be generated from the same source file using CSS variables
For WordPress users specifically, this is where a tool like SVG Editor becomes genuinely useful. You can select an SVG in your Media Library, change its fill colour through a visual colour picker, and save it, all without leaving the WordPress dashboard.

5. CSS and JavaScript Control Opens Creative Possibilities
PNG is a flat image. What you see is what you get; you cannot interact with its internal elements through code.
SVG elements are part of the Document Object Model (DOM). That means:
- Individual paths inside an SVG respond to CSS hover states
- Animations can be applied to specific shapes inside the graphic
- JavaScript can read and update SVG attributes in real time
- SVG icons can change colour to reflect the application state
This is why most modern icon systems, including popular sets like Heroicons, Lucide, and Tabler, distribute icons as SVG. The format was purpose-built for interactive, styled web graphics.

6. Branding Consistency Across Every Touchpoint
Maintaining consistent brand colours across a website is harder than it sounds, especially when multiple people are uploading graphics. A PNG badge created in one colour, exported on a slightly different monitor, viewed on a third screen, these small variations compound into a visible inconsistency.
SVG colours are defined in code. They are exact. The hex value does not shift between export and display. When your brand blue is #1E3A5F, every SVG element using that value will display exactly that colour on every screen.
Combined with the ability to edit colours directly in WordPress using a tool like SVG Editor, designers and content teams can keep branding tight without a round-trip to the design team for every small adjustment.
How Designers Actually Use SVGs
Understanding the theory is one thing. Seeing how SVG fits into actual work is where it clicks. Here are five common use cases and how designers handle them.
Logos: One File, Every Context
A brand logo typically needs to appear in the header, the footer, email signatures, social media, print materials, and sometimes embroidered on merchandise. Managing separate PNG versions for each context is a significant overhead.
Most professional studios deliver logos as SVG to their clients. The same file can be placed at 40px wide in a navigation bar and 400px wide in a hero section, and it looks identical in both contexts.
For WordPress sites specifically, uploading the SVG logo and placing it via the Customizer or a site editor means the logo stays sharp on every device, including mobile screens where raster logos often look slightly blurry on high-DPI panels.
Icons and UI Elements: Performance at Scale
Icon sets are a perfect SVG use case. A WooCommerce store with 30 icons in its UI, cart, wish list, payment method logos, trust badges, star ratings, and shipping indicators could easily have 300–600 KB of PNG assets.
Replace those with SVGs, and the same set might weigh 20–50 KB total. The visual quality is higher, load time improves, and if the brand colour changes, every icon can be updated by changing a single CSS variable.
WordPress sites using page builders like Elementor, Divi, or the native Block Editor can insert SVG icons directly into icon widgets or Image blocks. The key is having SVG upload support enabled, which is where a plugin like SVG Editor comes in, adding that capability safely.
WooCommerce Product Badges and Labels
WooCommerce stores frequently use badges to highlight “Sale,” “New,” “Bestseller,” or “Limited Stock.” These are typically small graphics placed over product thumbnails.
As SVGs, these badges can be:
- Recoloured seasonally (red for Christmas, orange for Halloween, blue for a January sale) without creating new image files
- Rendered sharply on both standard and retina product images
- Kept tiny in file size so they do not noticeably affect product page load times
A designer using SVG Editor can open the badge SVG in the WordPress Media Library, swap the fill colour in the editor, save, and see the updated badge live on the site — no Figma, no exporting, no re-uploading.
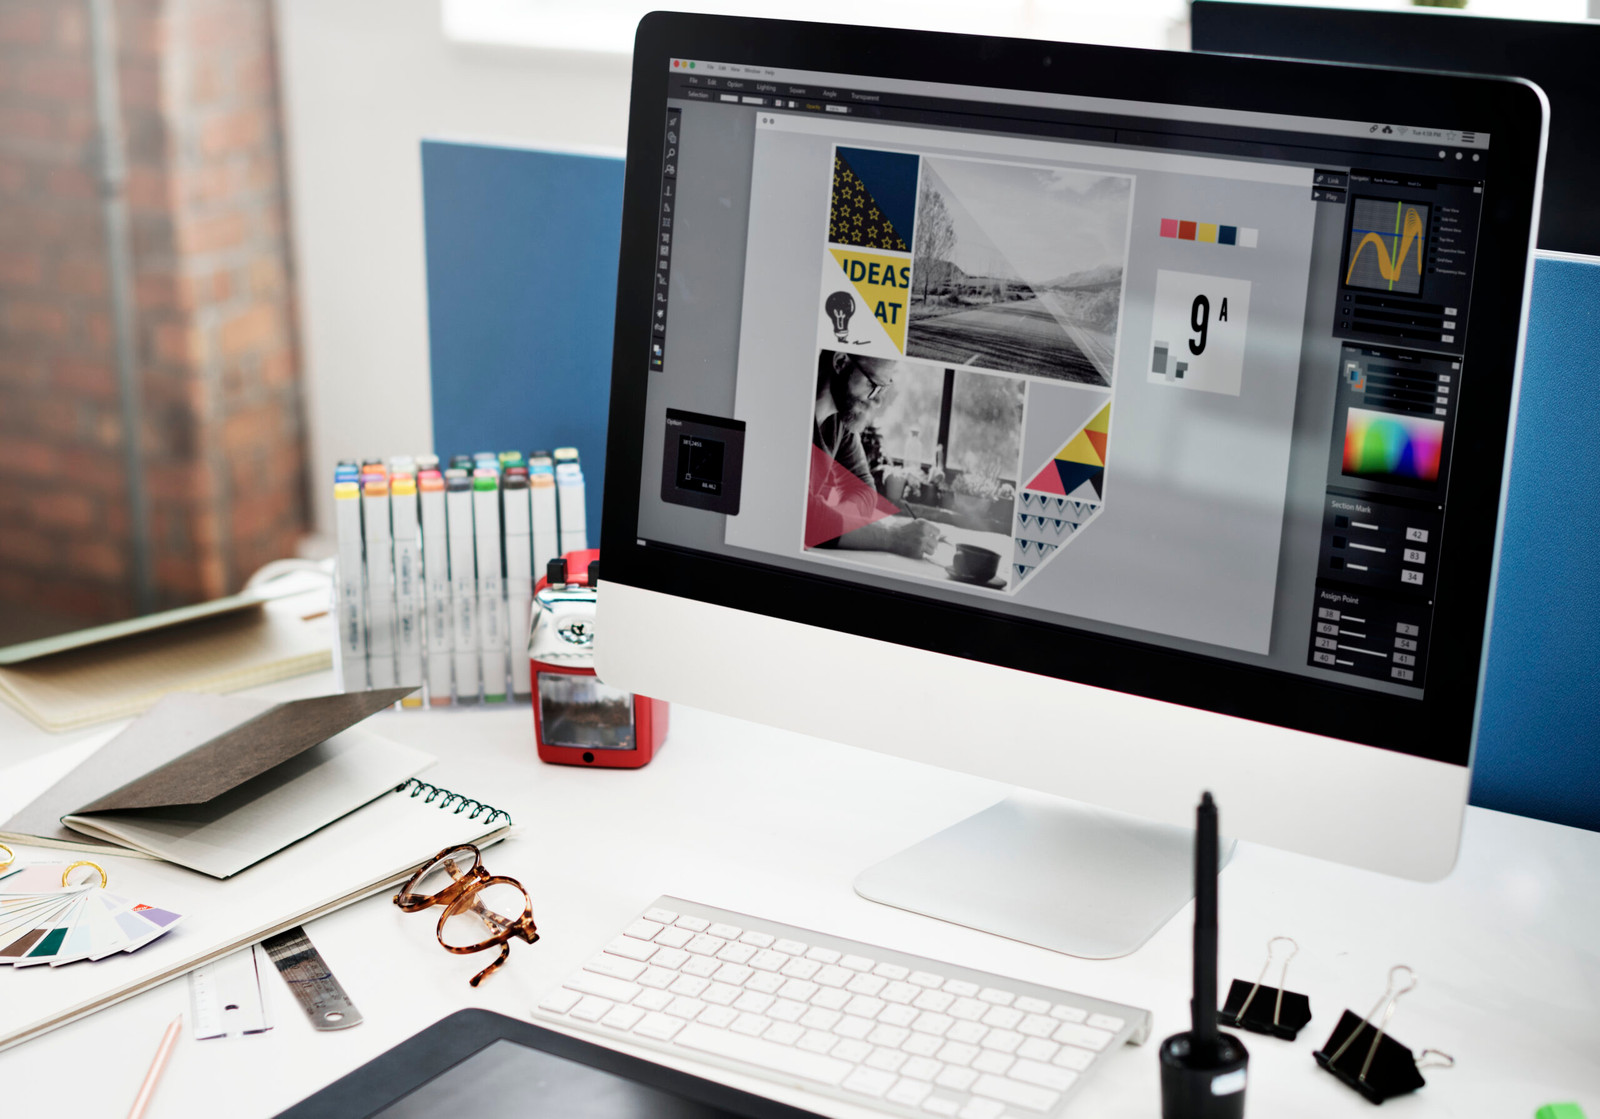
Lightweight Illustrations and Diagrams
Flat-style illustrations, the kind used in SaaS onboarding screens, explainer sections, and empty-state pages, work extremely well as SVGs. These illustrations use solid colours and simple shapes, which is exactly what the vector format handles efficiently.
A set of three onboarding illustrations that might total 150 KB as PNGs can often be delivered under 20 KB as SVGs, with no visible quality difference. On mobile connections, that difference is felt.
The important caveat: photorealistic illustrations with complex gradients, textures, and hundreds of individual colours do not suit SVG. For those, PNG or WebP is the better call.

Favicons and App Icons
Browsers have supported SVG favicons since around 2021 (with the notable exception of Safari, which requires .ico or PNG fallbacks). An SVG favicon adapts to both light and dark browser chrome through a simple CSS media query embedded in the file, something a PNG cannot do.
For site identity and bookmarking clarity, an SVG favicon is a small but effective upgrade.
Editing SVGs Inside WordPress
Once you have SVG upload support enabled on your WordPress site, the next challenge is customisation. A designer might deliver a beautiful icon set in navy blue, but your brand colour is forest green. Without a workflow for recolouring those SVGs inside WordPress, you are stuck with a round-trip to design software every time you need to make a change.
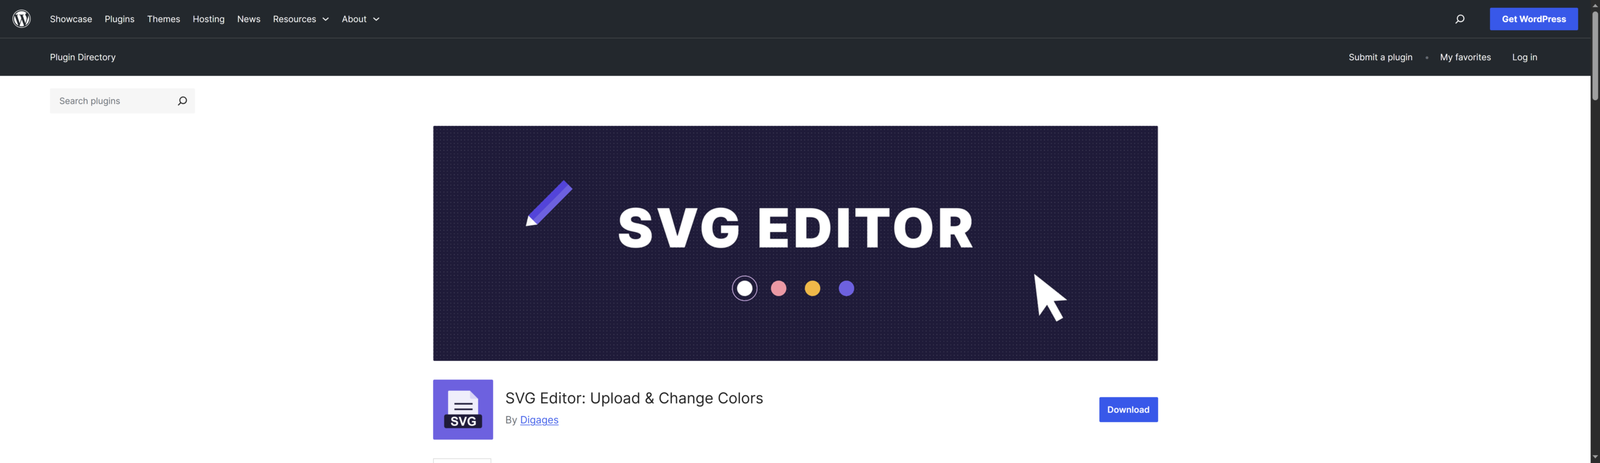
Introducing SVG Editor
SVG Editor is a free WordPress plugin developed by Digages, a plugin studio focused on practical tools for WordPress and WooCommerce users. It adds two things that WordPress natively lacks:
- Safe SVG upload support — with automatic sanitisation to strip potentially unsafe code
- A visual colour editor — letting you change any colour within an SVG directly from the WordPress Media Library
The plugin integrates directly with the native WordPress Media Library. Once activated, an Edit SVG button appears on compatible SVG files. Click it, change the colours through a colour picker, preview the result in real time, and save. No Illustrator subscription required.
Step-by-Step: Editing an SVG in WordPress
Here is the complete workflow from install to edited SVG:
- Go to WordPress Admin > Plugins > Add New Plugin
- Search for SVG Editor by Digages and install the plugin
- Click Activate
- Navigate to WordPress Admin > Media > SVG Editor (or open any SVG in the Media Library)
- Click Upload New SVG or select an existing SVG file
- The editor opens, showing a live preview of the SVG
- Use the colour picker interface to select any fill colour in the graphic
- Choose your replacement colour using the visual picker or by entering a hex code
- Preview the change
- Click Save Changes
The updated SVG is now available site-wide; use it in any block, widget, or page.
Conclusion
The reason designers prefer SVG over PNG is not a matter of trend or preference; it is a practical response to the demands of modern screen design. Infinite scalability, sharp rendering on retina displays, smaller file sizes for simple graphics, full editability through code, and precise colour control all solve real problems that designers face daily.
PNG still belongs in every designer’s toolkit. For photographs, AI-generated artwork, and complex photorealistic images, it remains the right choice. The skill is knowing which format to reach for based on what the image actually contains.
For WordPress users, the SVG vs PNG decision has historically come with an extra complication: WordPress does not support SVG uploads out of the box. That gap is easy to close. SVG Editor by Digages adds safe, sanitised SVG upload support and a built-in colour editor to the native Media Library, meaning you can upload, preview, recolour, and deploy SVG assets without leaving WordPress, and without opening a single external design tool.
If your site uses logos, icons, badges, or flat illustrations, converting them to SVG is one of the highest-leverage design and performance improvements available. Start with your logo and navigation icons, measure the file size difference, and go from there.
Ready to improve your designs? Install SVG Editor today, with setup in under 2 minutes. No API keys, no developer, no dependencies. Get it for free on WordPress.org