✨ New in v2.4: AI Powered Payment Confirmation & Custom Workflow Controls.
A donation form allows supporters to contribute funds directly through your website. With Direct Payments WP, you can create a dedicated donation form, set fixed or flexible amounts, enable Multiple Payment Methods, collect donor details, and embed the form anywhere using a shortcode.
This guide walks you through installation, form creation, configuration, and publishing.
Step 1: Install Direct Payments WP
You can install Direct Payments WP directly from your WordPress dashboard or by uploading the plugin ZIP file.
-
Log in to your WordPress website.
-
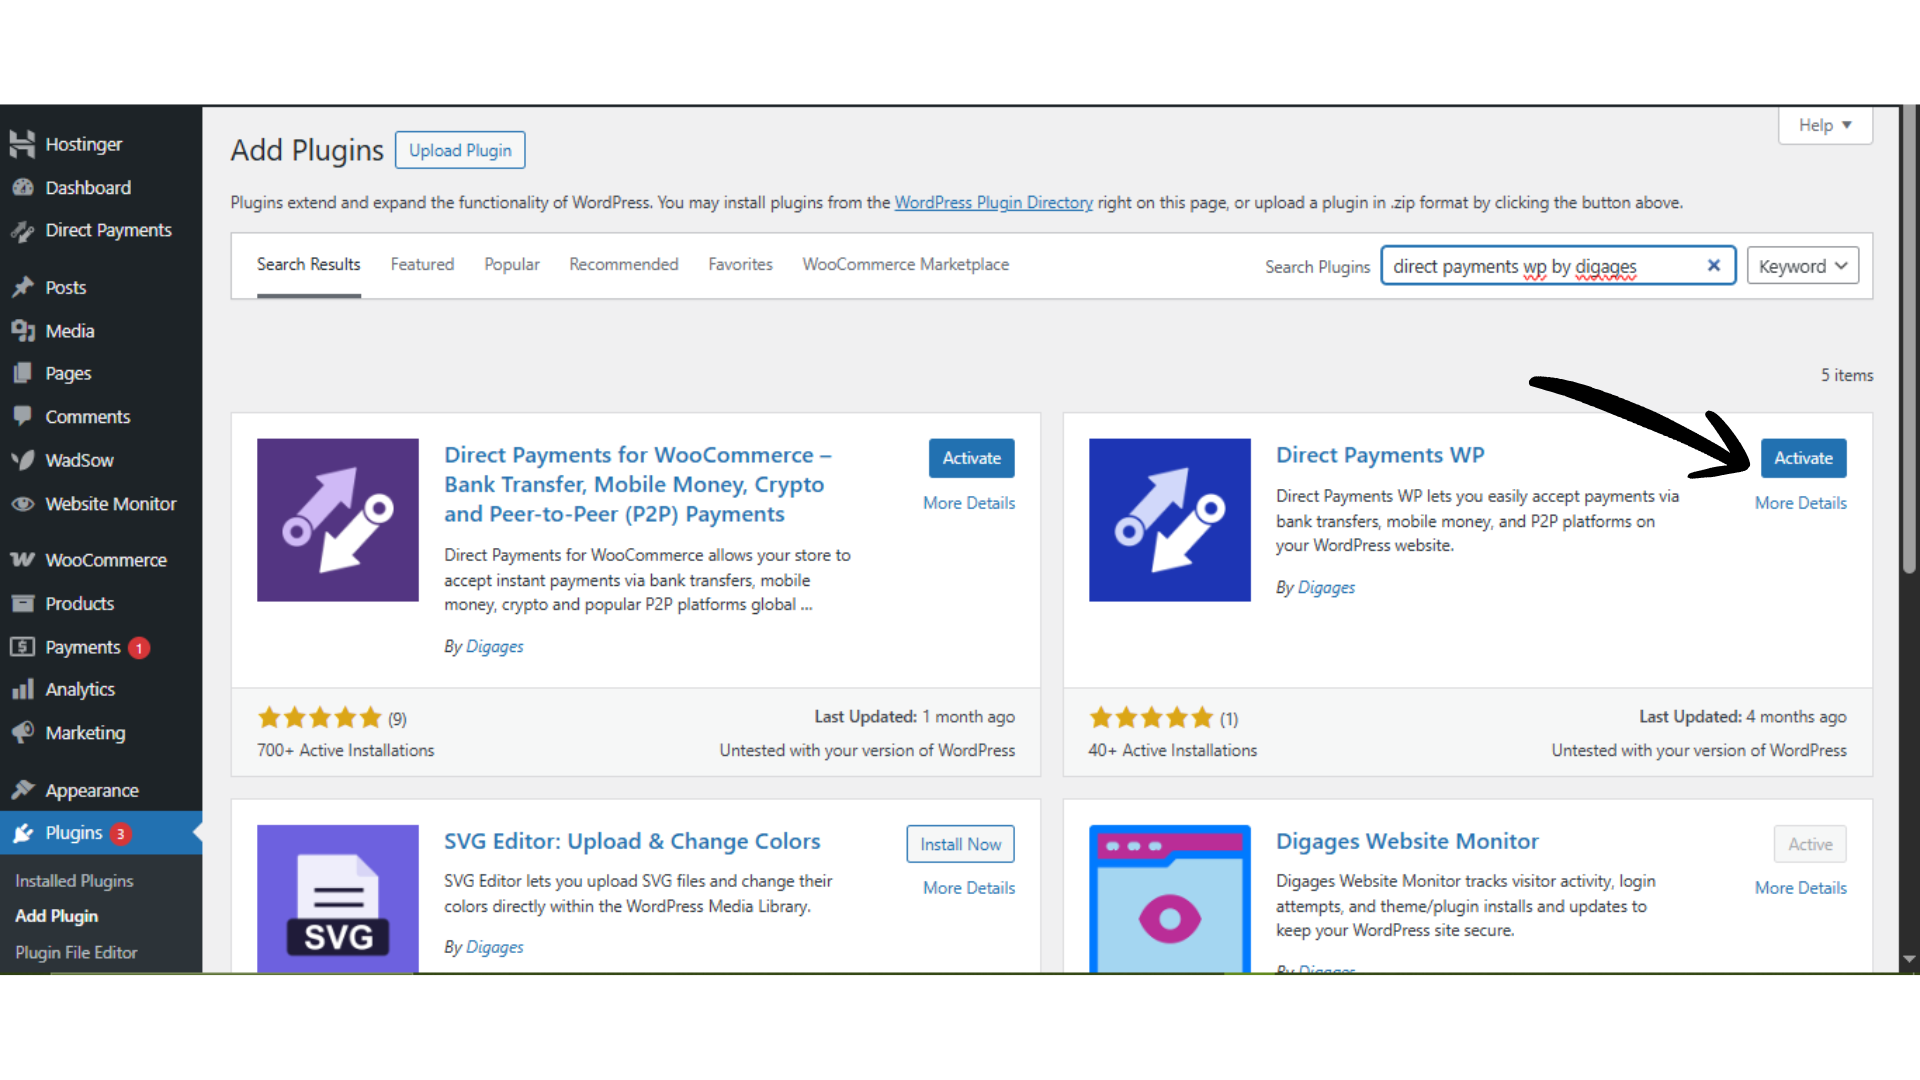
Go to WordPress Admin → Plugins → Add New.
-
Search for “Direct Payments WP by Digages”, or click Upload Plugin to upload the ZIP file.
-
Click Install Now.
-
After installation, click Activate.
Once activated, you can begin configuring payment methods.
 Step 2: Open the Form Builder
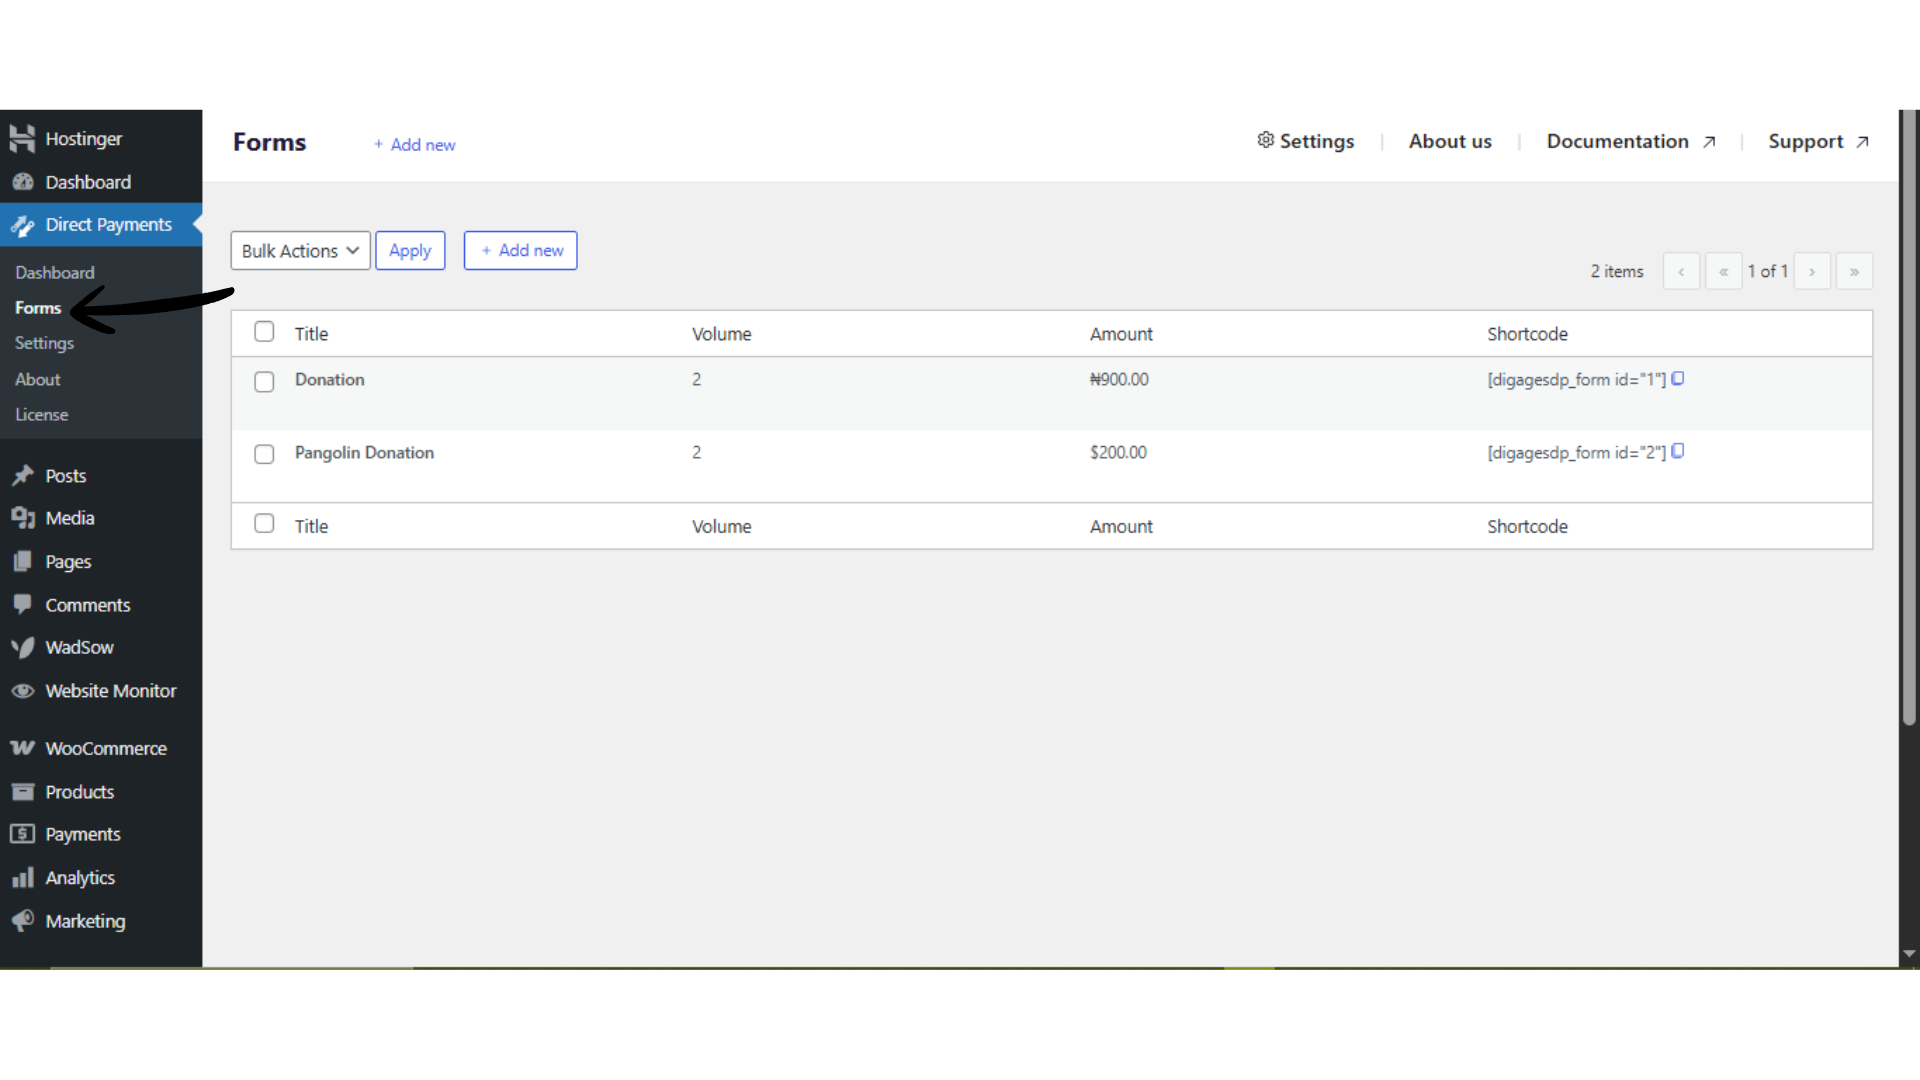
- In your WordPress dashboard, go to Direct Payment → Forms.
- Click Add Forms from the available options.
- Click Get Started to launch the form builder pop-up.
This builder is where you configure your donation form fields and behavior.
 Step 3: Create the Donation Form
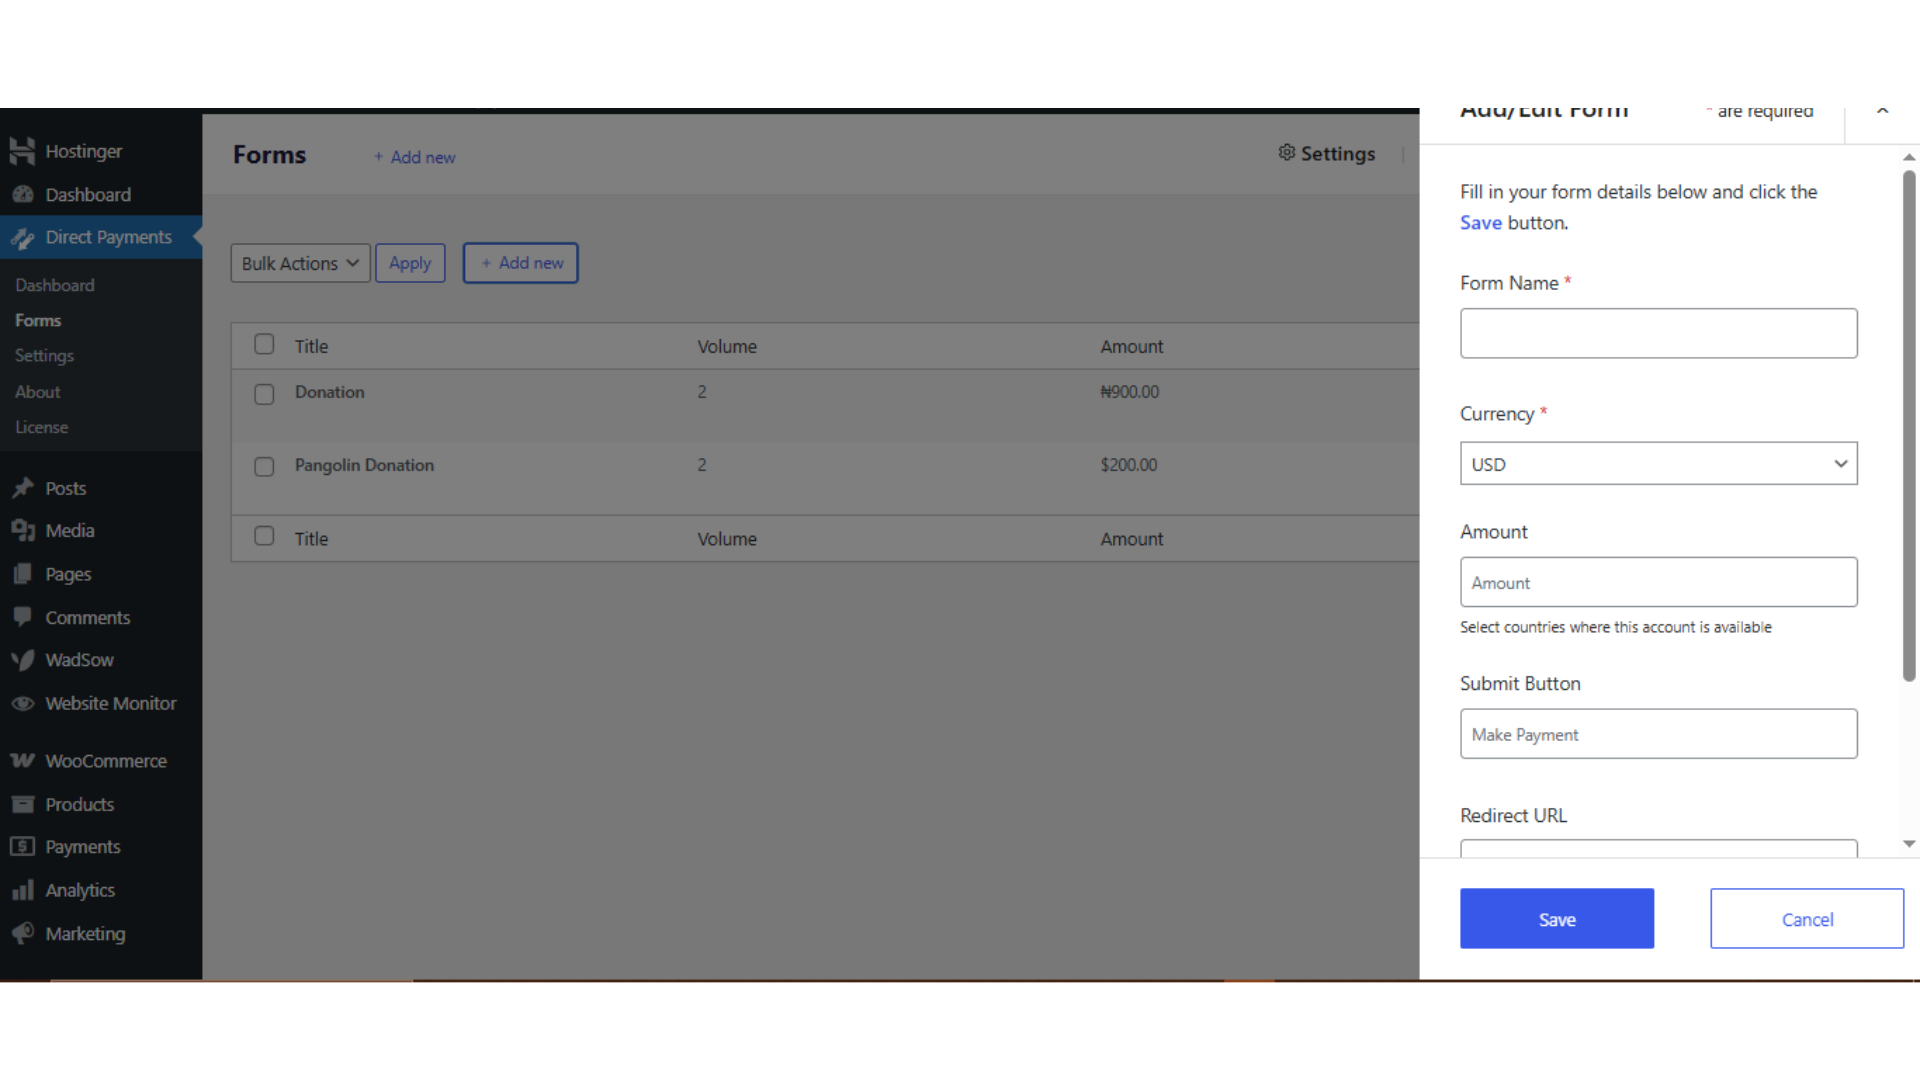
Fill in the required and optional fields carefully to match your donation use case.
Required Fields
- Form Name
Enter a clear internal name (e.g., “Website Donations” or “Project Fundraiser”). - Amount: Enter a fixed donation amount, or leave blank to allow donors enter their own amount.
- Submit Button Label
Customize the button Placeholder text (e.g., “Donate Now”, “Support This Cause”, “Contribute”). - Redirect URL (Optional)
Add a thank-you or confirmation page URL to redirect donors after submission. - Phone Number Field (Optional)
Enable if you want to collect donor contact details. - Payment Description Field (Optional)
Useful for letting donors include notes or specify the purpose of the donation.
 After filling in the details:
- Click Submit.
- Confirm the prompt by clicking OK.
Your donation form is now created and stored in the plugin.
Step 4: Copy the Donation Form Shortcode
To display the form on your site, you need the generated shortcode.
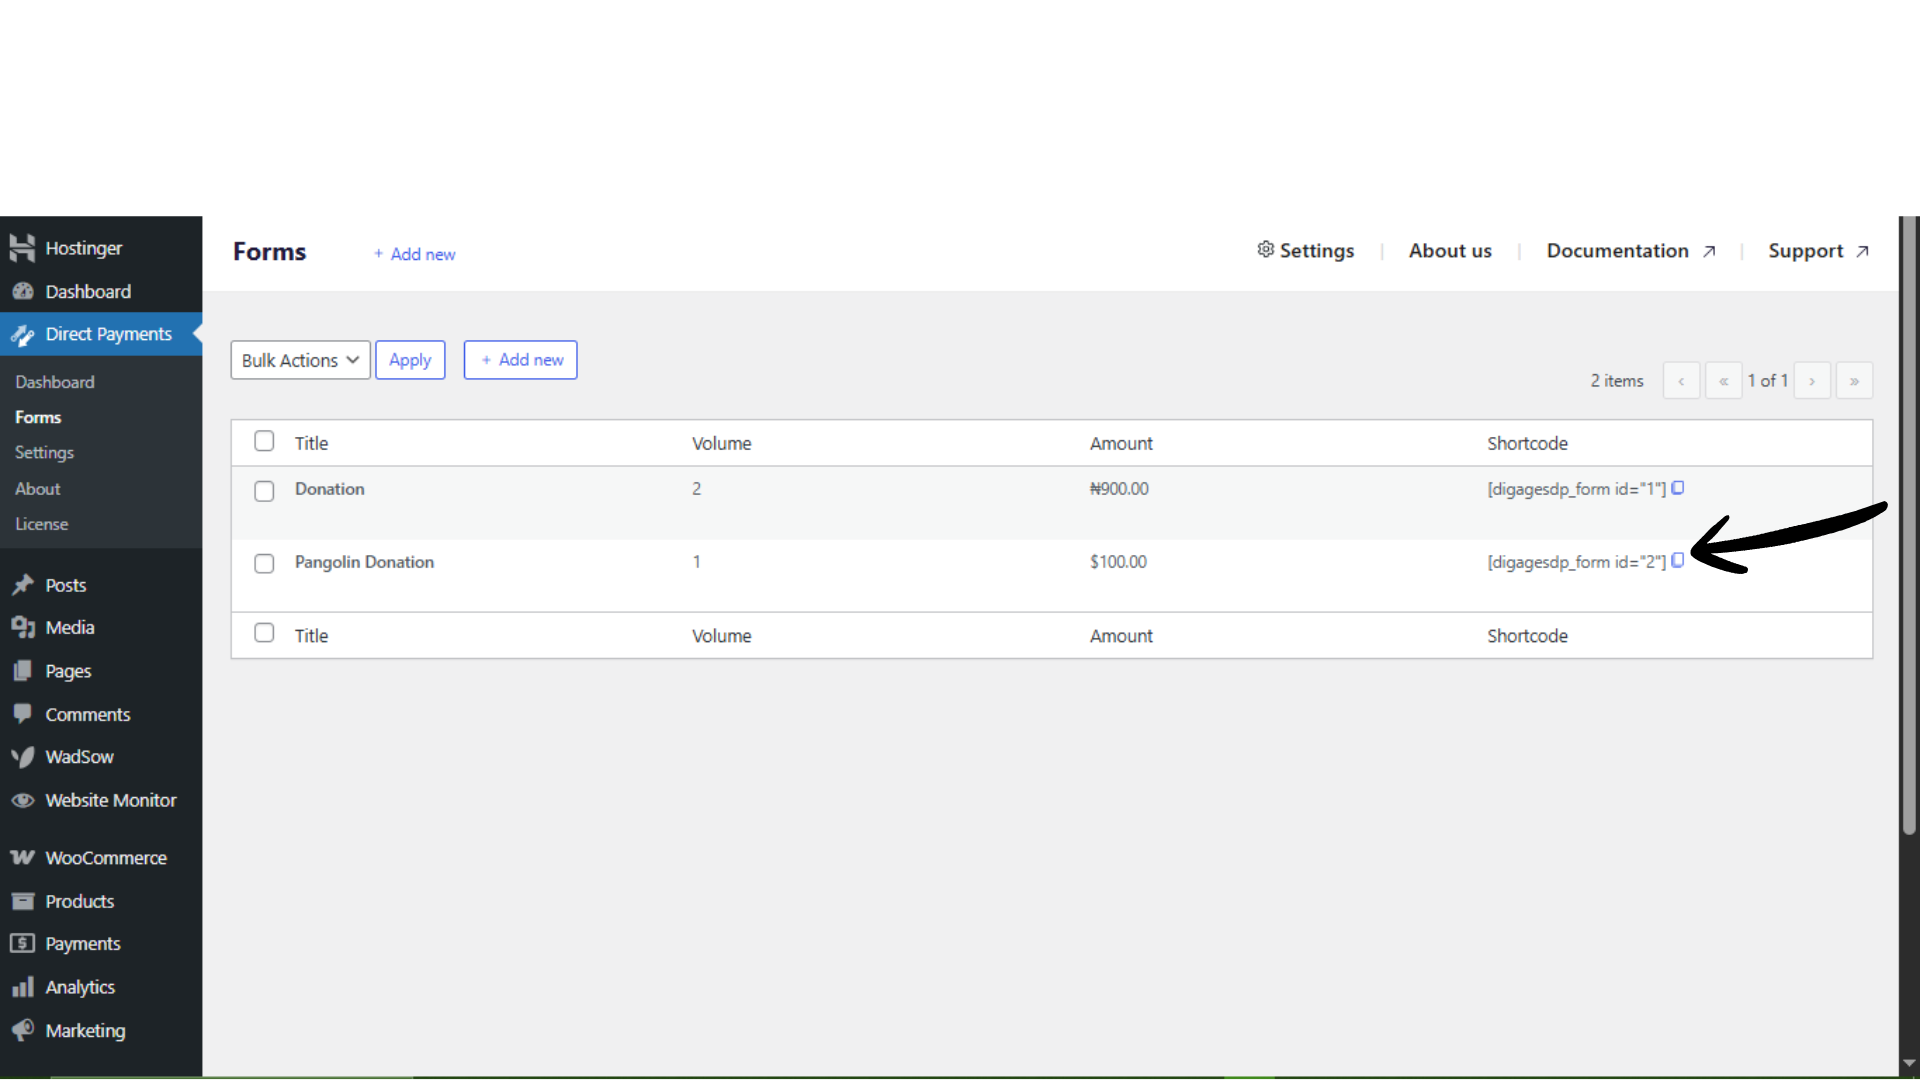
- Navigate to Direct Payment → Forms.
- Locate the donation form you just created.
- Click the copy icon next to the shortcode.
The shortcode will look similar to:
[direct_payment_wp id="1"]
This shortcode is what renders the donation form on any page or post.
Step 5: Paste the Donation Form on a Page
- Go to Pages → Add New (or edit an existing donation page).
- Paste the shortcode into the content editor. It works with the Block Editor (Shortcode block) and works with most page builders that support shortcodes.
- Click Publish or Update.
Your donation form is now live and ready to accept contributions.
Best Practices for Donation Forms
To improve usability and conversion:
- Use a clear page title like “Support Our Cause” or “Make a Donation”.
- Add trust signals (mission statement, testimonials, or impact summary).
- Provide Multiple Payment Methods where possible.
- Use a custom thank-you page to confirm successful donations.
Final Thoughts
Direct Payments WP makes it easy to launch a functional donation form without complex eCommerce setup. By configuring the form correctly and embedding it via shortcode, you can start collecting donations within minutes.
For best results, ensure payment methods, email notifications, and redirect pages are properly configured before going live.
Additional Guide:
How to Add Favourite Payment Methods