🎁 New: Build Customer Loyalty & Drive Repeat Purchases with WooCommerce. Learn more


Direct Payments for WooCommerce simplifies accepting P2P platform payments, allowing your customers to use popular peer-to-peer methods for added flexibility. This guide will show you how to set up and manage P2P platform payments on your WooCommerce store.
Step 1: Ensure Direct Payments for WooCommerce is installed and activated
- Log in to your WordPress Admin Panel.
- Go to Plugins > Add New and search for Direct Payments for WooCommerce by Digages
- Click Install and then Activate to enable the plugin.
For additional setup instructions, please refer to our installation guide.

Step 2: Add Peer-to-Peer Account Details
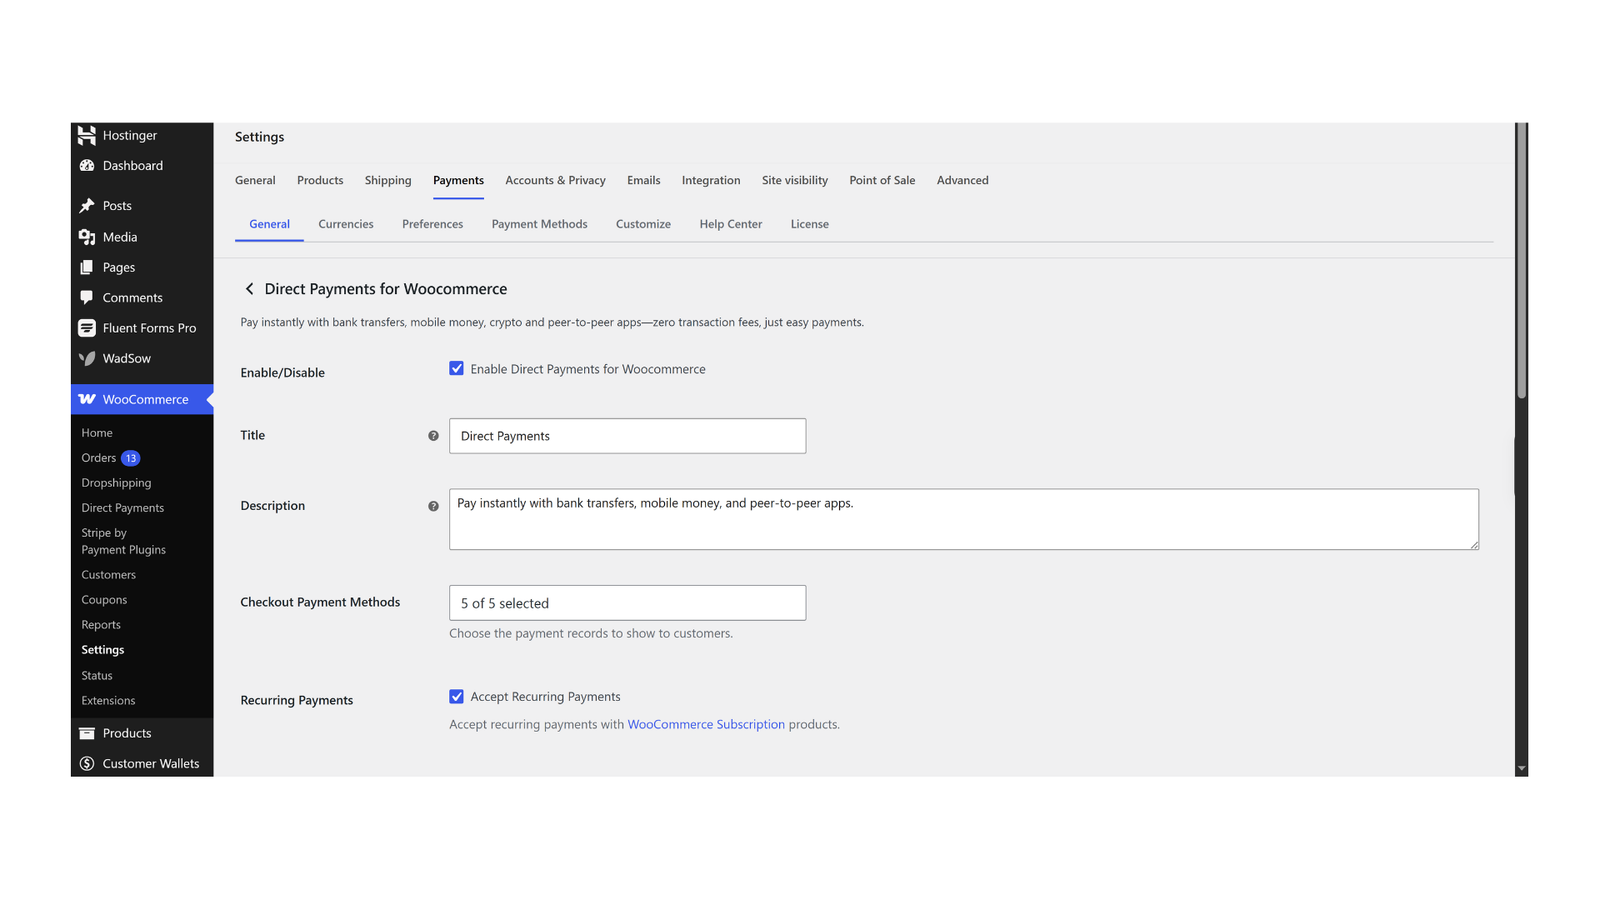
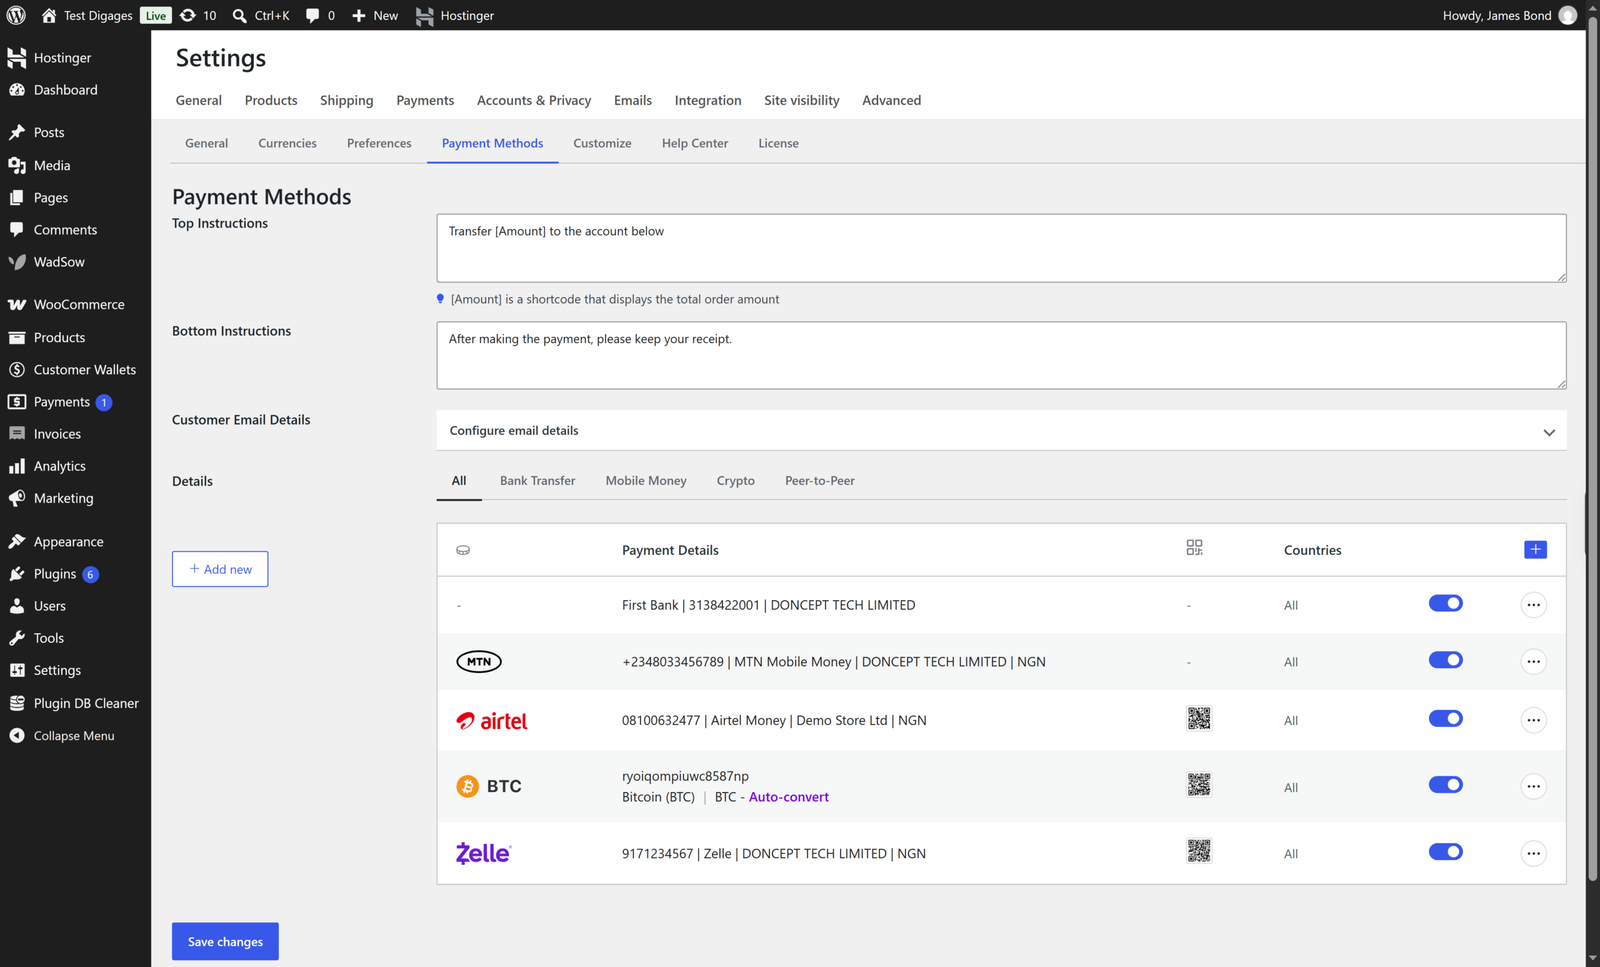
- Go to WooCommerce > Direct Payments > Settings, then open the Payment Methods tab.
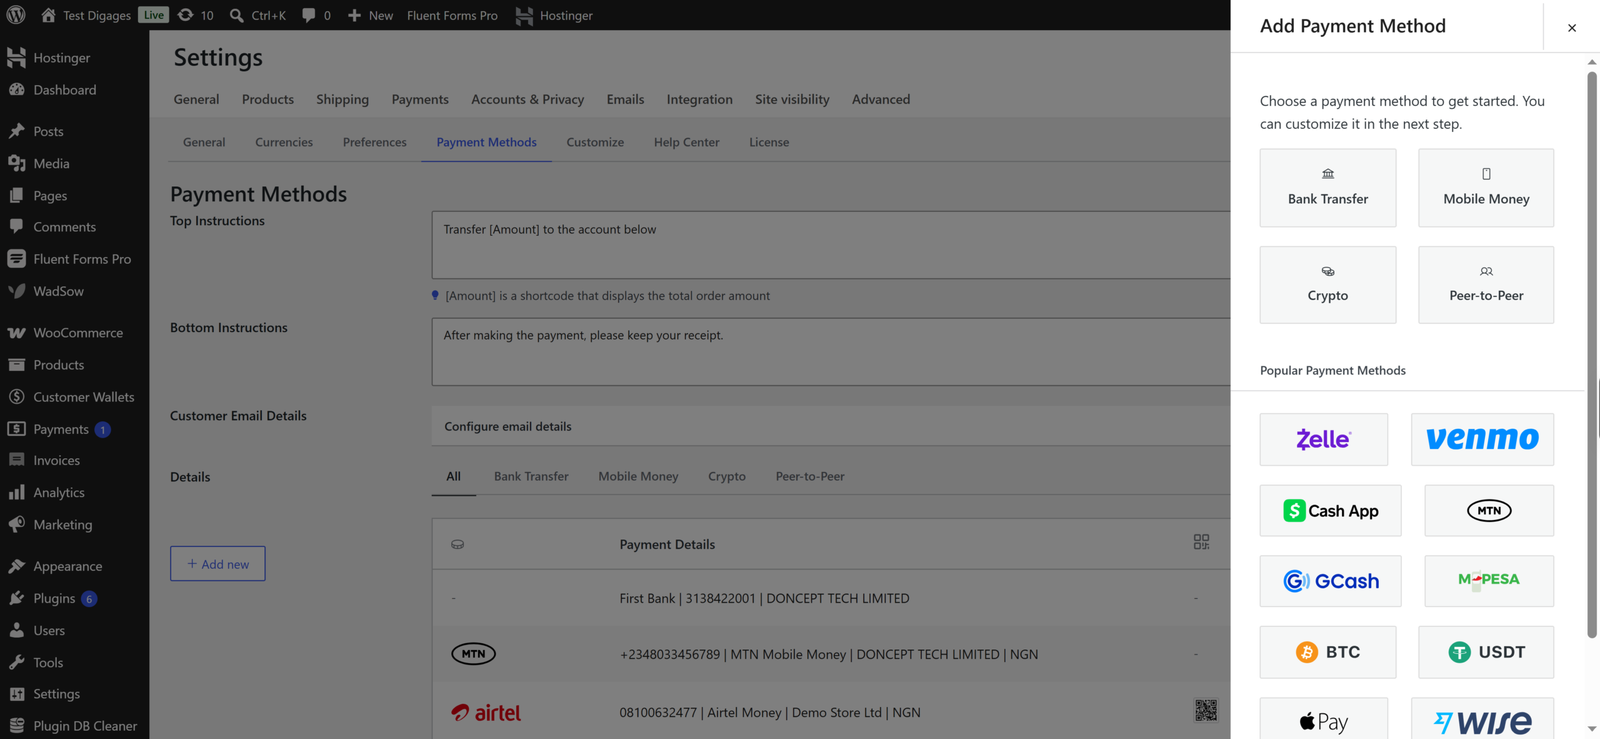
- Click + Add New, then select the Peer-to-Peer category from the panel that opens.
- Fill in the required details:
– P2P Platform: Specify the platform name (e.g., Venmo, Zelle, PayPal, Payoneer)
– Account Name: Provide the name associated with your P2P account
– ID: Enter the username, email, or phone number associated with your account.
– ID Type (Optional): Select the type of ID you’re using (e.g., email, phone number, tag, username).
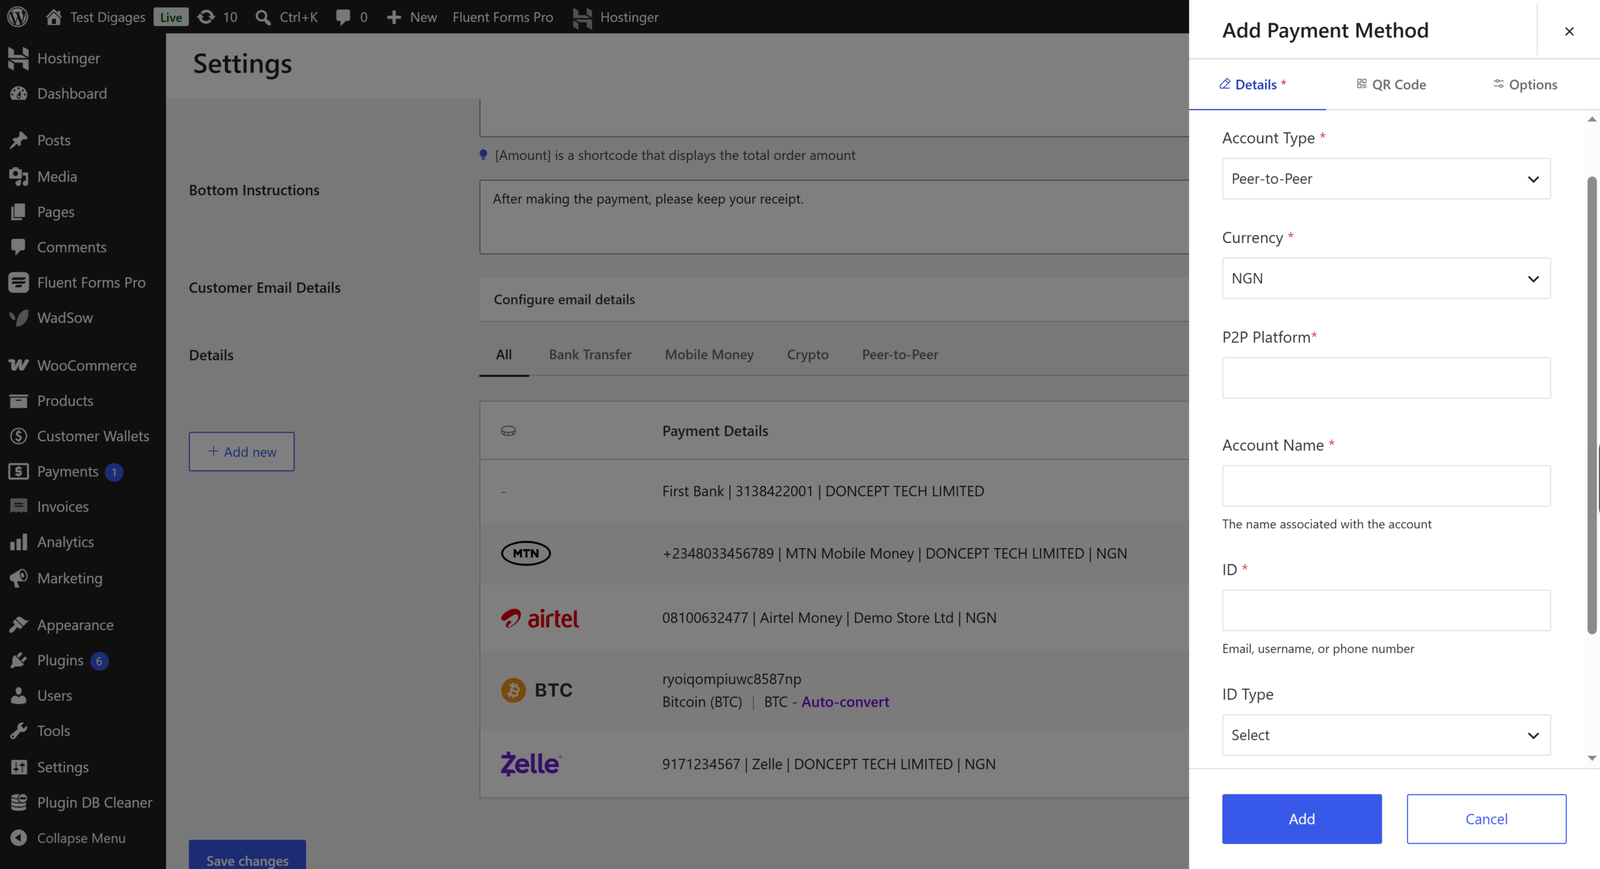
- Once you’ve filled out the information, click Save Changes.
With the free version, you can add only 1 P2P platform. With Direct Payments for Woocommerce Pro you can add as many P2P platforms as you need.
Step 3: Enable Peer-to-Peer Payments as a Payment Method
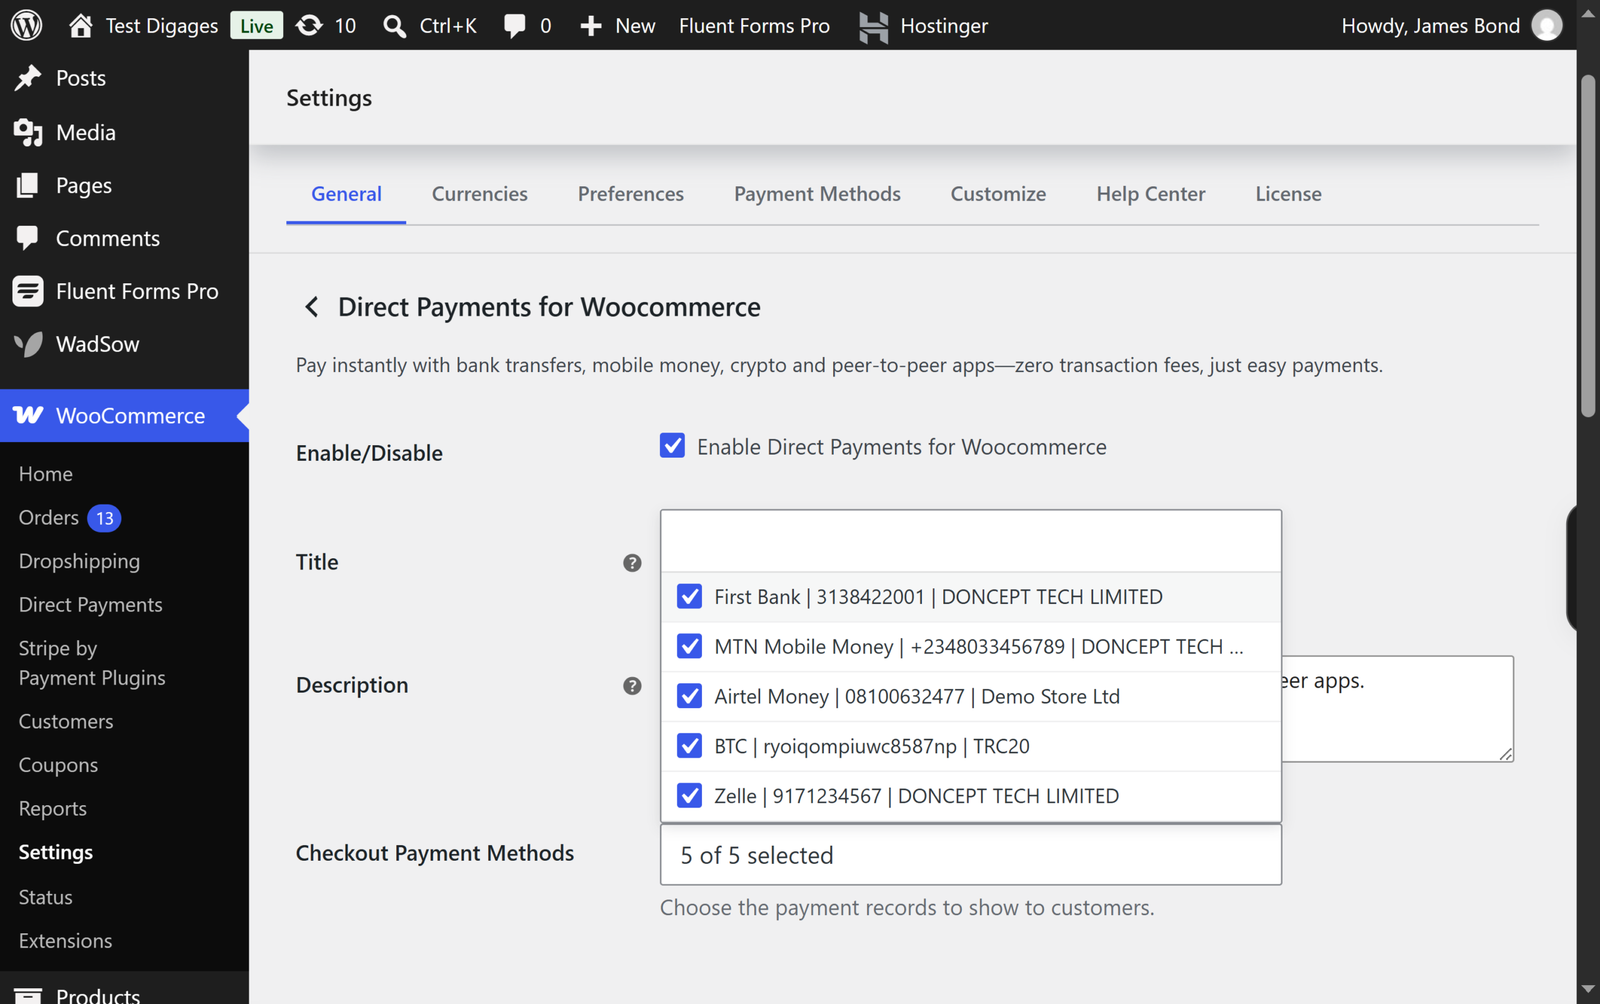
- In WooCommerce > Direct Payments > Settings > Checkout Payment Methods, ensure that the new Peer-to-Peer method you just added is selected.
- This will allow customers to use it as a payment option at checkout.