Best WooCommerce Plugin for Personalised Phone Cases

Phone cases are one of those products that seem simple on the surface. They’re small, affordable, and easy to ship, but they’re also deeply personal. People use them to show off a pet, a partner, a favourite phrase, or a photo that means something. That emotional connection is exactly what makes personalised phone cases one of the most consistently profitable products to sell online.
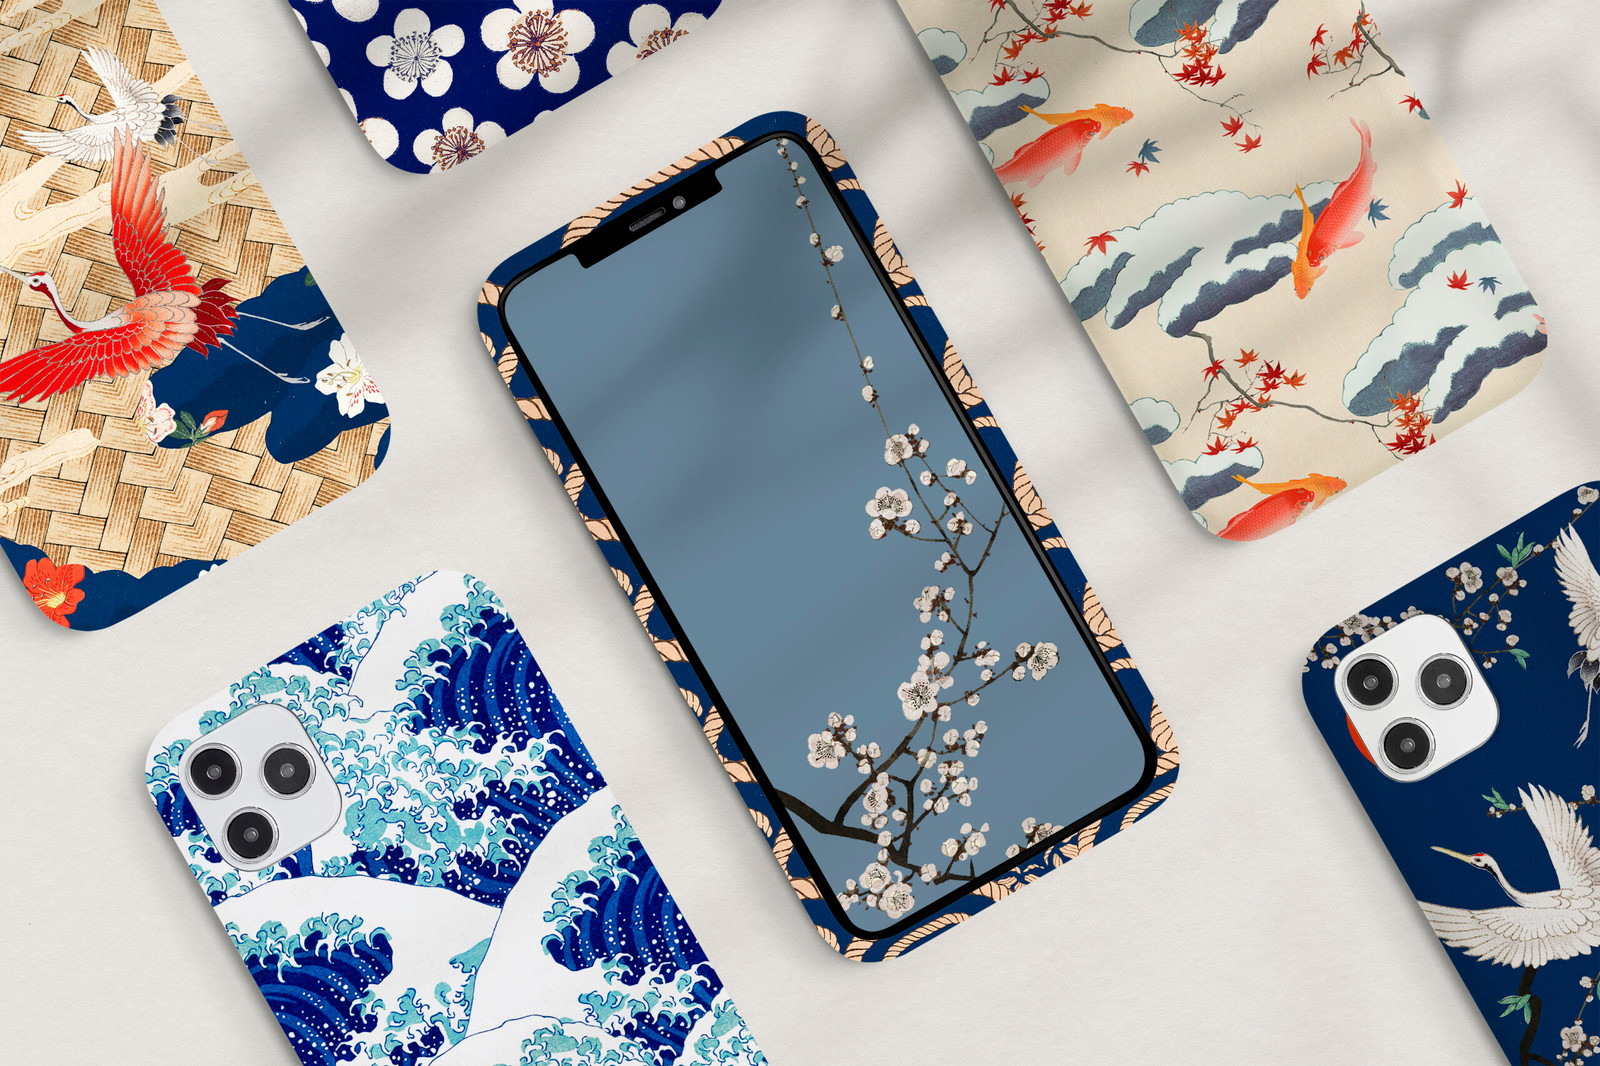
The good news is that with WooCommerce, you get what you need to build a store around it. The part that trips most sellers up is using the right plugin that streamlines and organises how you actually collect personalisation data from customers. That is the purpose of this guide.

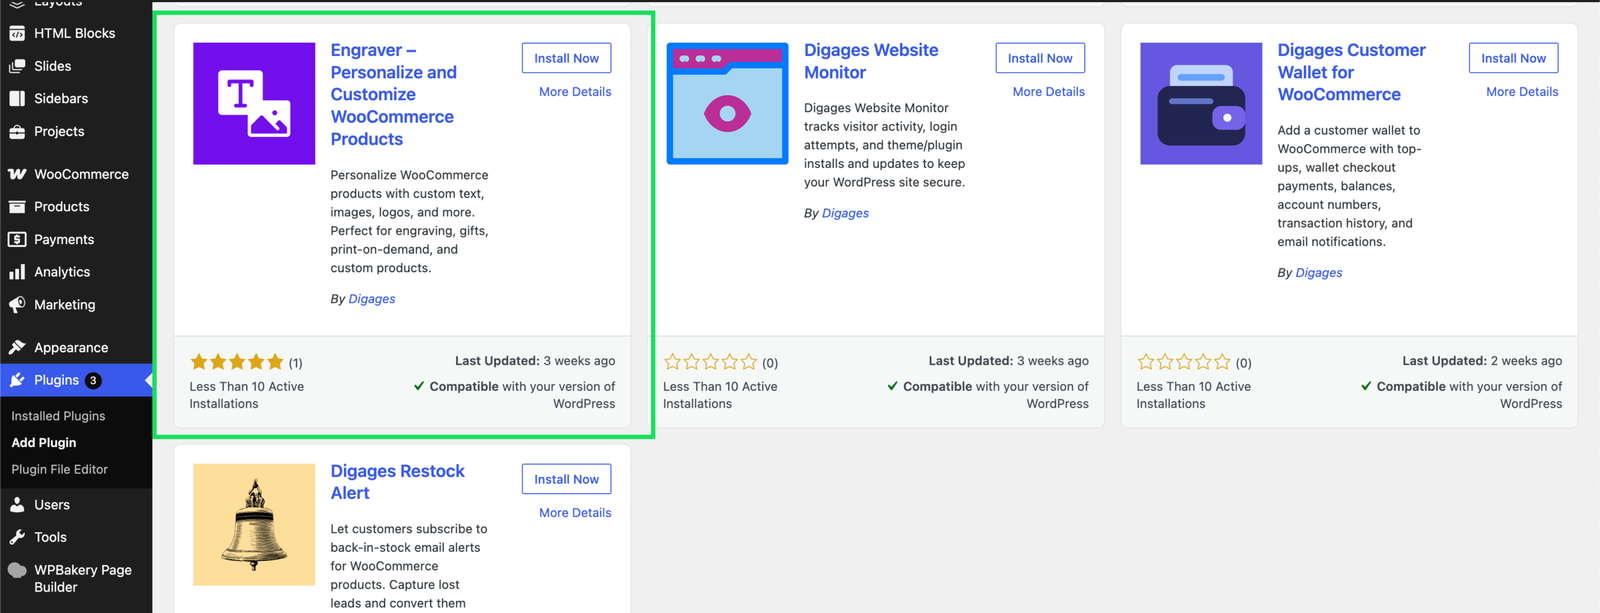
Engraver for WooCommerce
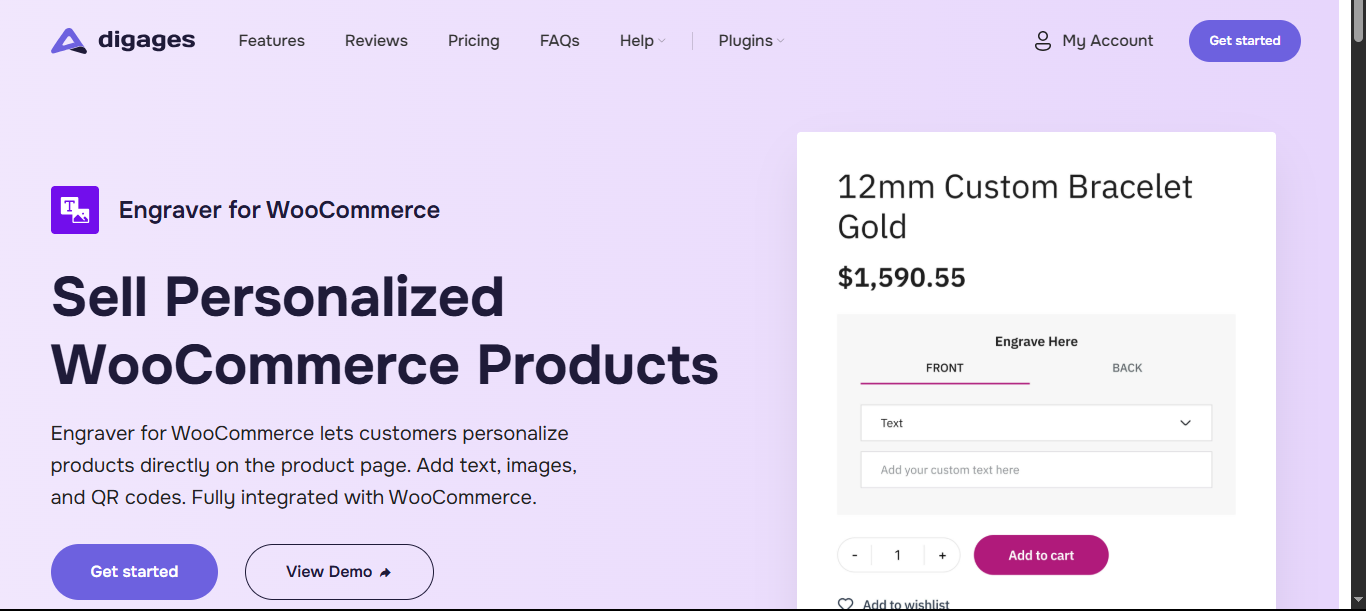
Engraver for WooCommerce is a personalisation plugin built specifically for WooCommerce. It adds structured customisation input fields directly to the product page, beside the Add to Cart button, so customers submit their text, image, or other personalisation details without leaving the page or completing a separate form. The data is attached to the order automatically.

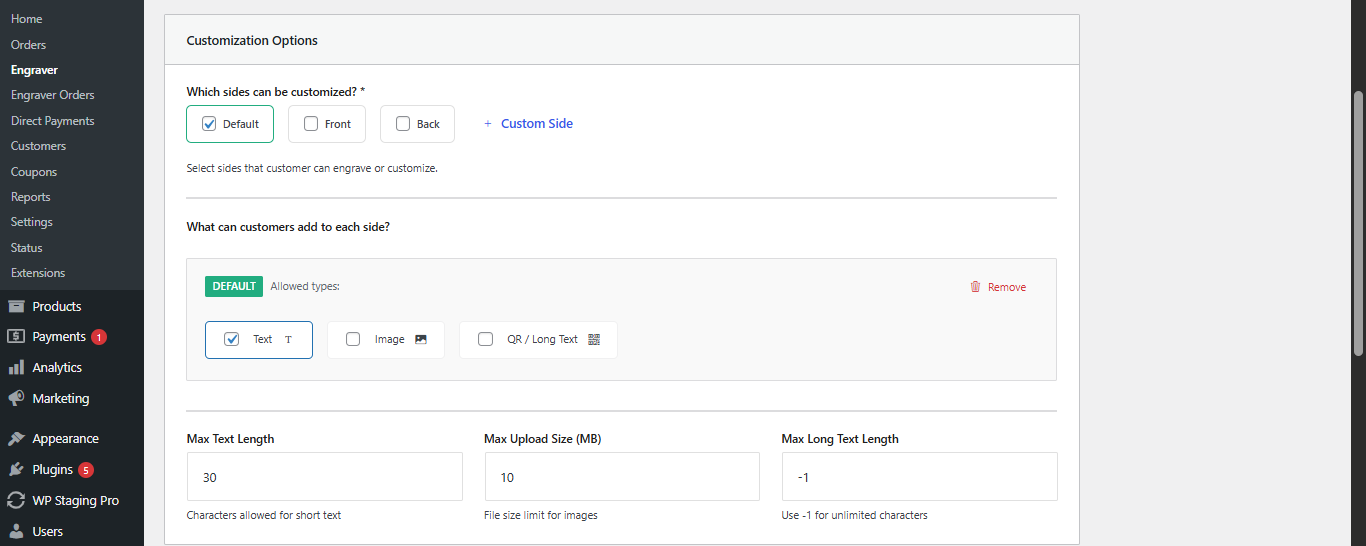
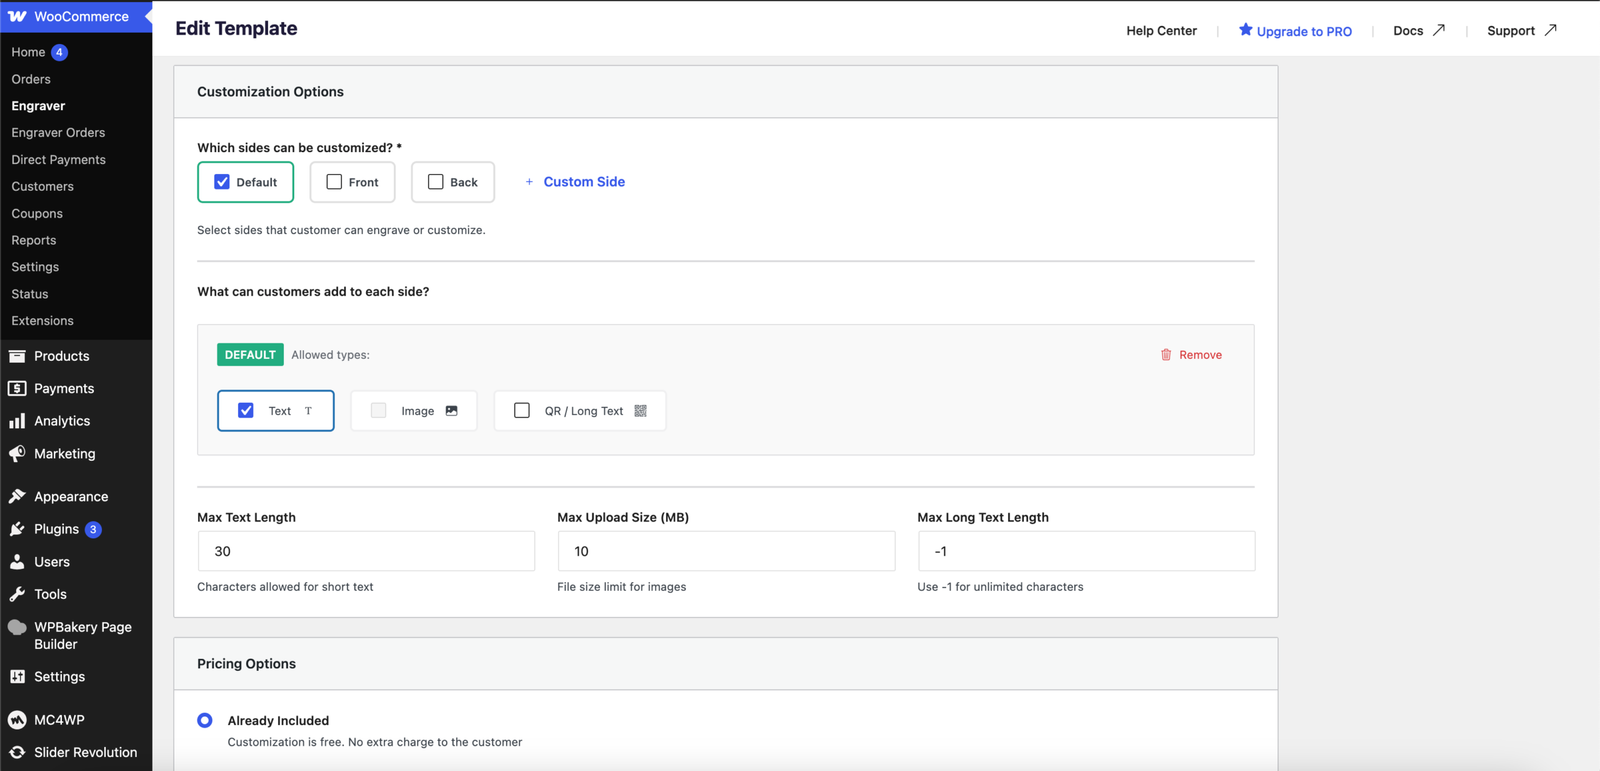
It works through a template system. You create a template that defines what customers can personalise, which sides of the product, what types of input are accepted, and any constraints like character limits. Then you assign that template to your phone case products or category, and the fields appear on every relevant product page automatically.

Text Personalisation

In the free version, customers can submit short text, a name, a date, a short phrase.
You can set a character limit that matches your production process, which prevents customers from submitting more than your printing equipment can handle.
This alone covers a significant share of what phone case buyers actually want.

Image and QR Code Personalisation (Pro)

The Pro version unlocks image uploads and QR code generation. For phone cases, this is a meaningful upgrade. Many customers specifically want to put a photo on their case rather than just text, and this is what drives higher average order values.

You can set a maximum upload size so you’re not receiving enormous raw files, and customers upload their image directly on the product page as part of the standard add-to-cart flow. QR codes are a particularly interesting option; a customer can submit a URL (a Spotify playlist, a personal message, a portfolio link), and the plugin generates the corresponding QR code for printing.

Setting Up Phone Case Products in WooCommerce
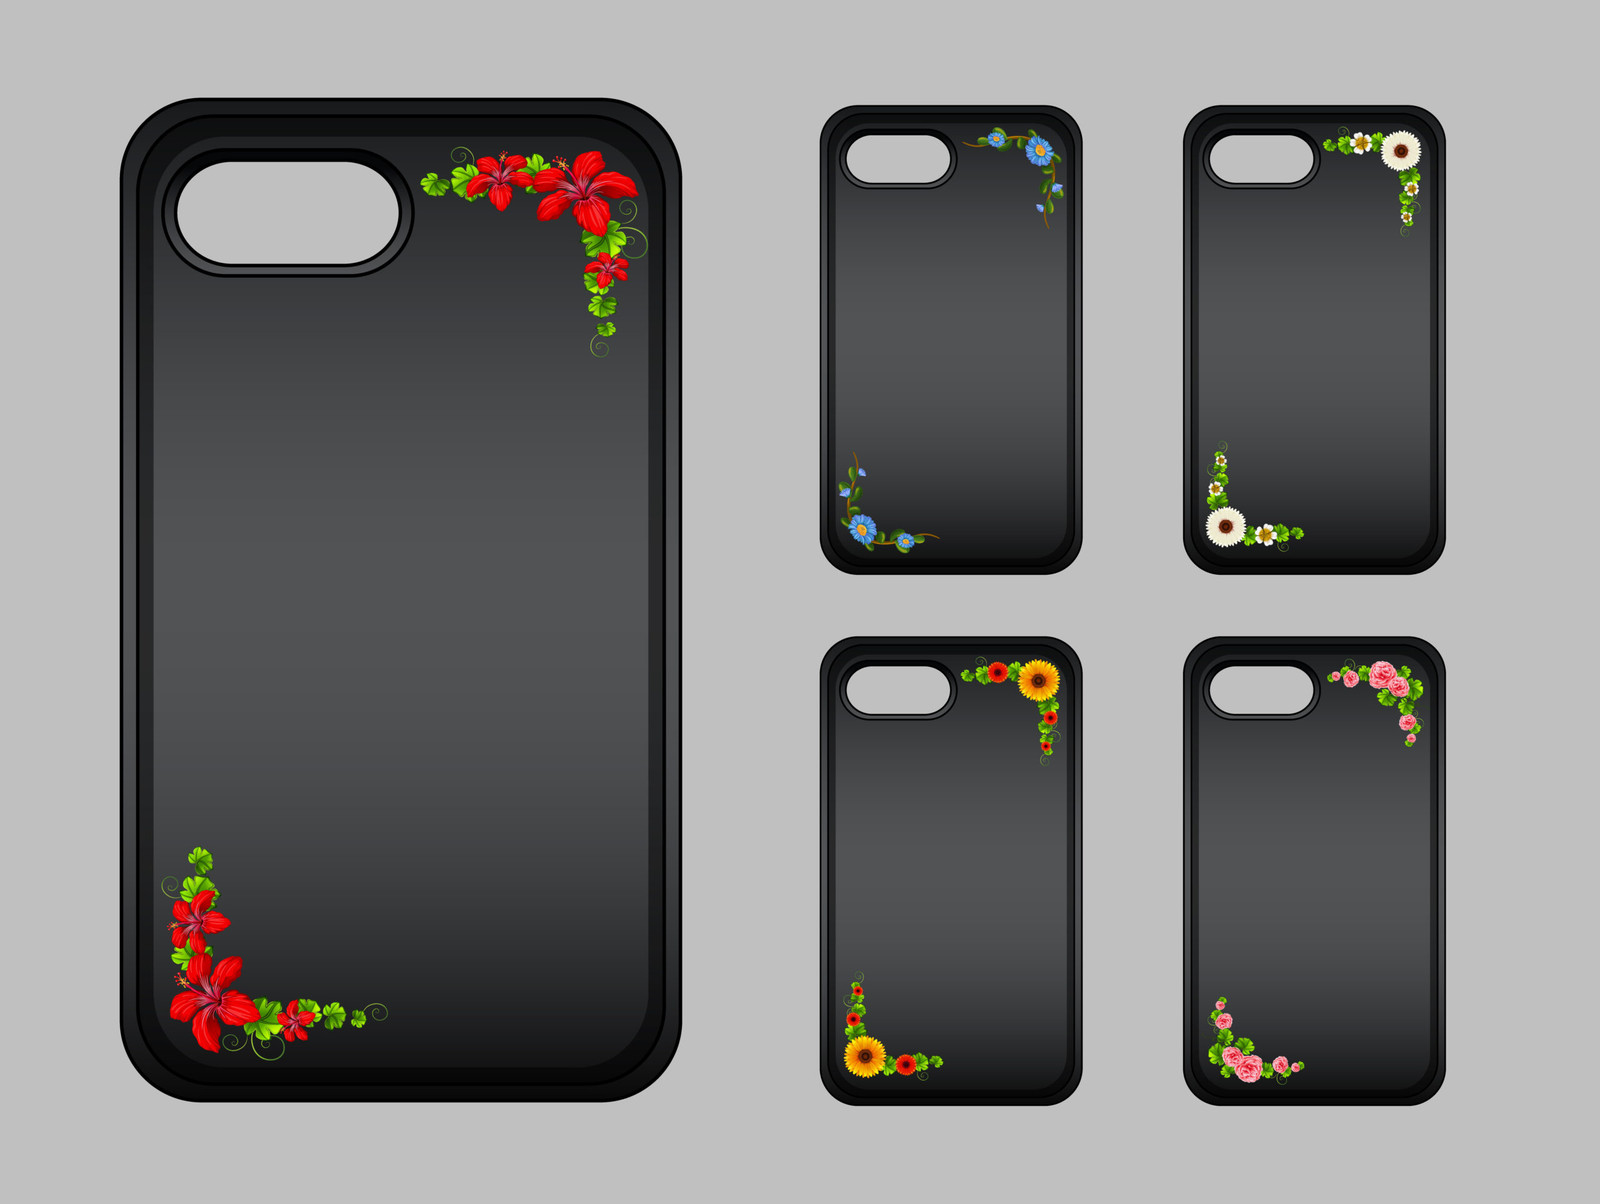
Use variable products. Phone cases almost always vary by device model and often by colour or finish, so a variable product structure lets you manage stock, pricing, and product images cleanly across all combinations.

A few tips for product setup:

  • Create one product per case style or collection (e.g. “Frosted Case”, “Slim Case”).
  • Use a clear naming convention: Frosted Case – iPhone 15 Pro is more searchable than just “Phone Case”.
  • Upload a clean mockup image that matches the selected variant where possible. Customers are making a purchase decision; strong visuals matter.

The Part Most Store Owners Get Wrong
Here’s where most custom product stores run into trouble: collecting the personalisation data.

A customer reaches the product page, selects their device model, and is ready to check out. But where do they submit their name? Their photo? Their QR code URL? If the answer is “order notes” or “a separate email,” you have a problem.

Order notes are a single free-text field at checkout, not tied to a specific product. In a multi-item order, it’s not clear which personalisation request belongs to which product. Email follow-ups add friction and delay. Contact forms create a parallel data stream that you have to match to the right WooCommerce order manually.

What you actually need is a dedicated, structured personalisation input right on the product page, and this is the solution that Engraver for WooCommerce brings.

Check out the complete usage guide here to get your first personalized phone cases live today.

How Your Fulfilment Flow Works

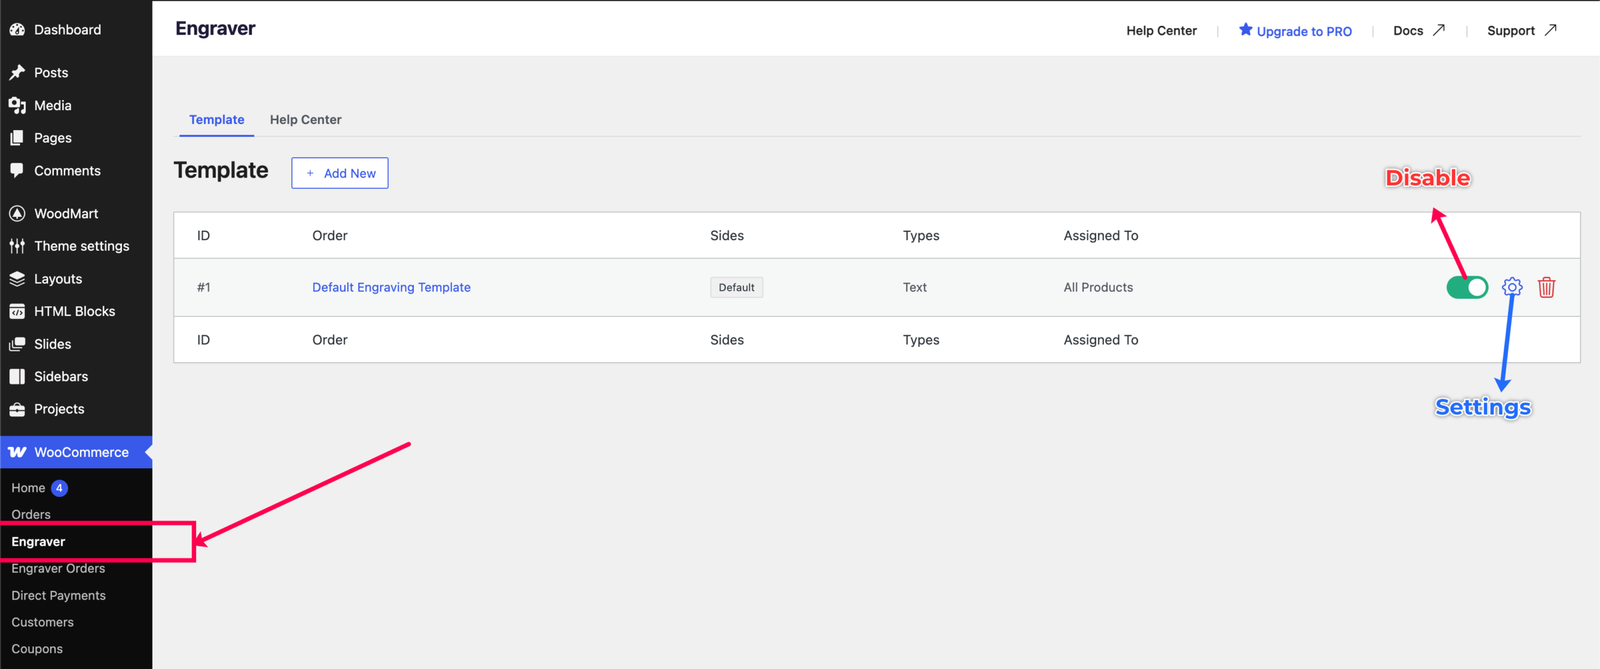
Once a customer places an order, all personalisation data is captured alongside the WooCommerce order and appears in a dedicated section of your admin: WooCommerce → Engraver Orders.

This gives your production team a clean, separate view of every order that includes personalisation, distinct from your regular order queue. From there, they can:

  • View the full personalisation submission for each product in the order.
  • Download any uploaded images or Custom Text.
  • Mark the engraving as Done once it’s been sent to production and completed.

Having personalisation orders in a dedicated dashboard rather than buried in WooCommerce order notes becomes especially valuable as volume grows. Your print team can work from a focused list without needing to understand the full WooCommerce order workflow.

Set up a category in WooCommerce called “Personalised Phone Cases” and assign your Engraver template to the category rather than individual products. Any new phone case you add to that category will automatically inherit the personalisation fields — no extra configuration required.
Conclusion

Personalised phone cases are a strong product to build a business around. Most of the operational complexity comes down to one thing: having a reliable way to collect what each customer wants and route it cleanly to production. Getting that step right makes everything else like pricing, fulfilment, and customer satisfaction significantly easier.

If you’re on WooCommerce and want a structured way to handle personalisation without workarounds, Engraver for WooCommerce is worth starting with. The free version handles text personalisation, and the Pro version adds image uploads and QR codes when your catalogue is ready for it.

Follow the complete usage guide to get your first personalized product live today.