🎁 New: Build Customer Loyalty & Drive Repeat Purchases with WooCommerce. Learn more


Direct Payments for WooCommerce simplifies accepting P2P platform payments, allowing your customers to use popular peer-to-peer methods for added flexibility. This guide will show you how to set up and manage P2P platform payments on your WooCommerce store.
You can watch the video below to see How to Add Apple Pay to your WooCommerce Store.
Step 1: Ensure Direct Payments for WooCommerce is installed and activated
- Log in to your WordPress Admin Panel.
- Go to Plugins > Add New and search for Direct Payments for WooCommerce by Digages
- Click Install and then Activate to enable the plugin.
For additional setup instructions, please refer to our installation guide.

Step 2: Add Peer-to-Peer Account Details
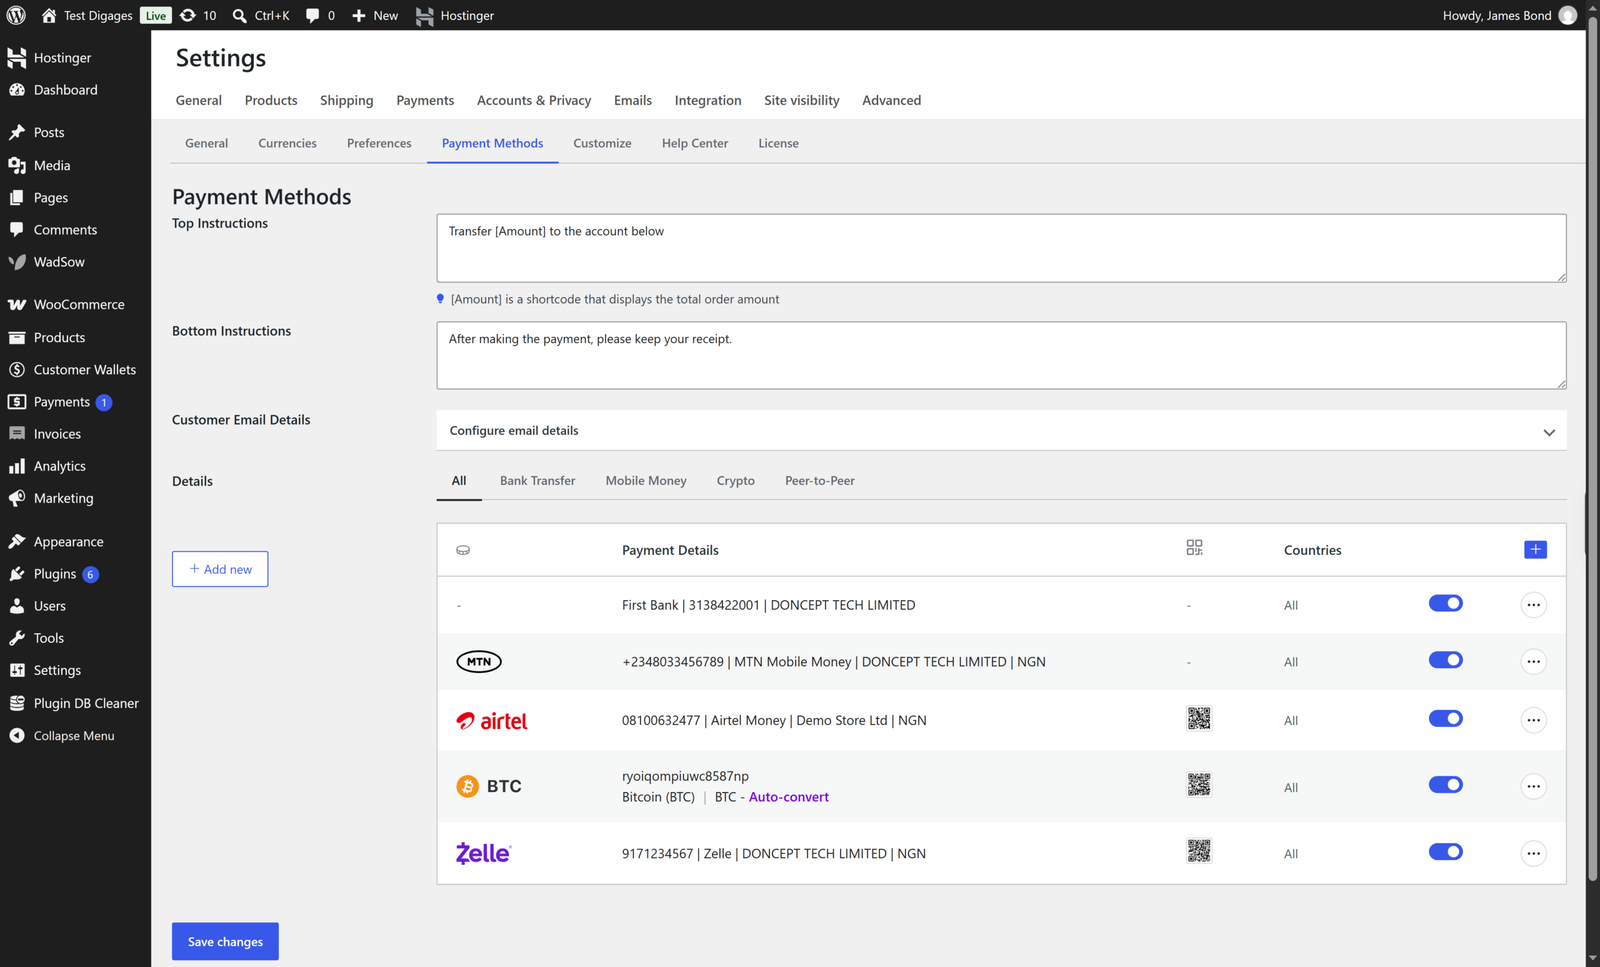
- Go to WooCommerce > Direct Payments > Settings, then open the Payment Methods tab.
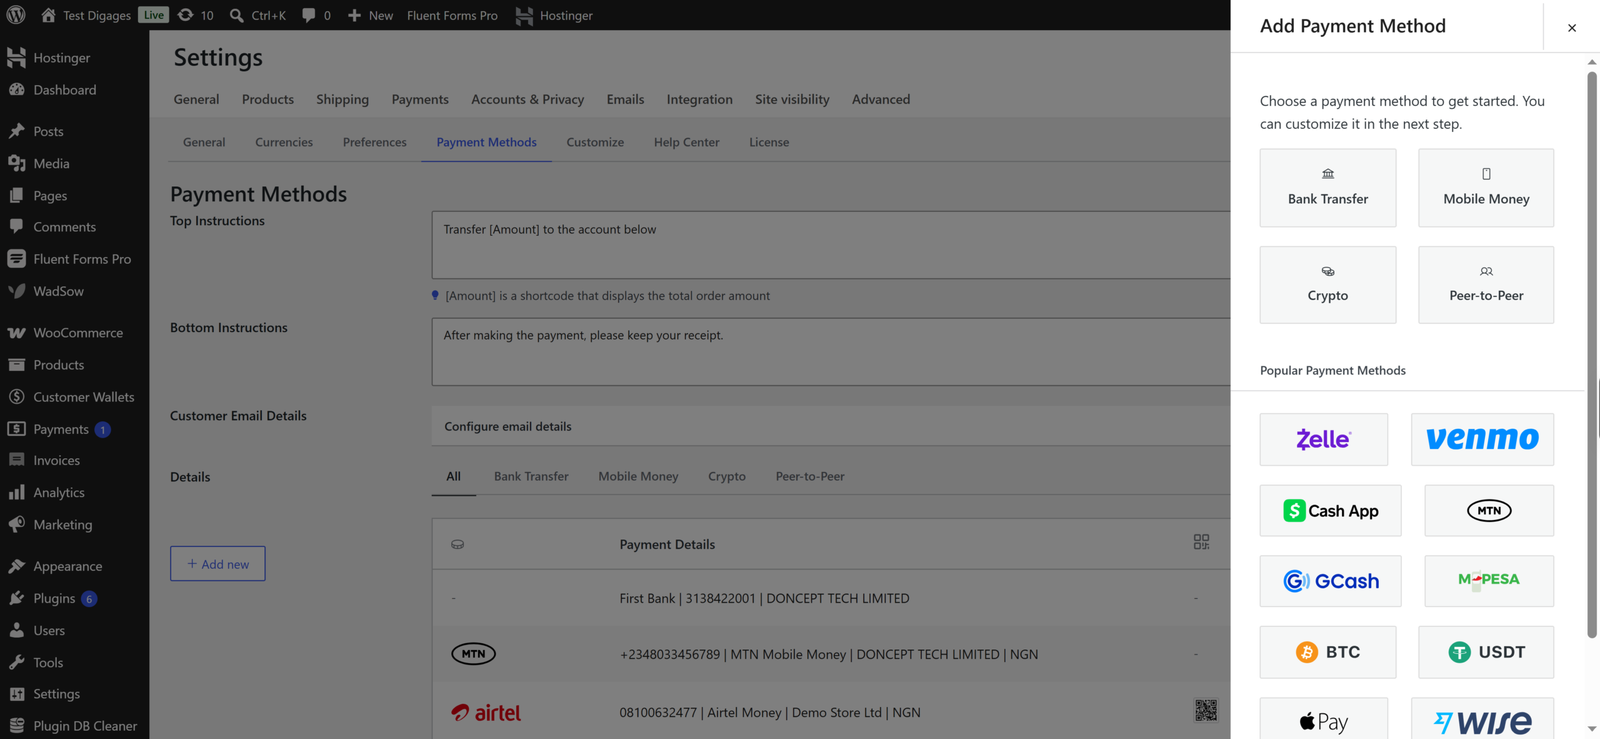
- Click + Add New, then select the Peer-to-Peer category from the panel that opens.
- You can also scroll down to find Apple Pay among the popular payment methods.
- Fill in the required details:
– P2P Platform: Confirm the platform name (e.g., Venmo, Zelle, PayPal, Payoneer)
– Account Name: Provide the name associated with your P2P account
– ID: Enter the username, email, or phone number associated with your account.
– ID Type (Optional): Select the type of ID you’re using (e.g., email, phone number, tag, username).
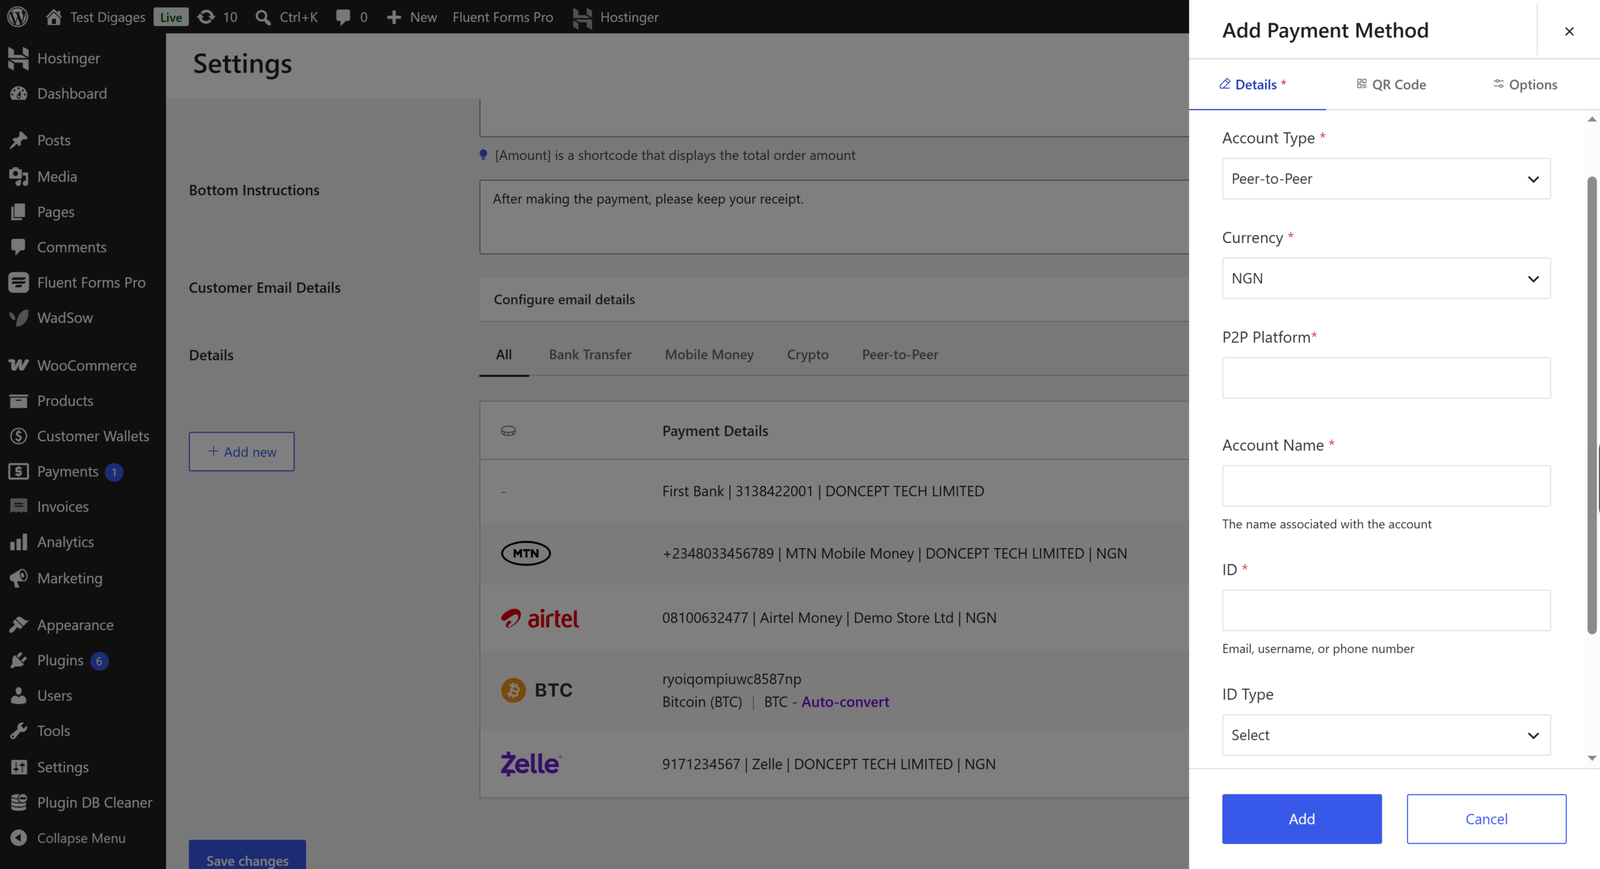
- Once you’ve filled out the information, click Save Changes.
With the free version, you can add only 1 P2P platform. With Direct Payments for Woocommerce Pro you can add as many P2P platforms as you need.
Step 3: Enable Peer-to-Peer Payments as a Payment Method
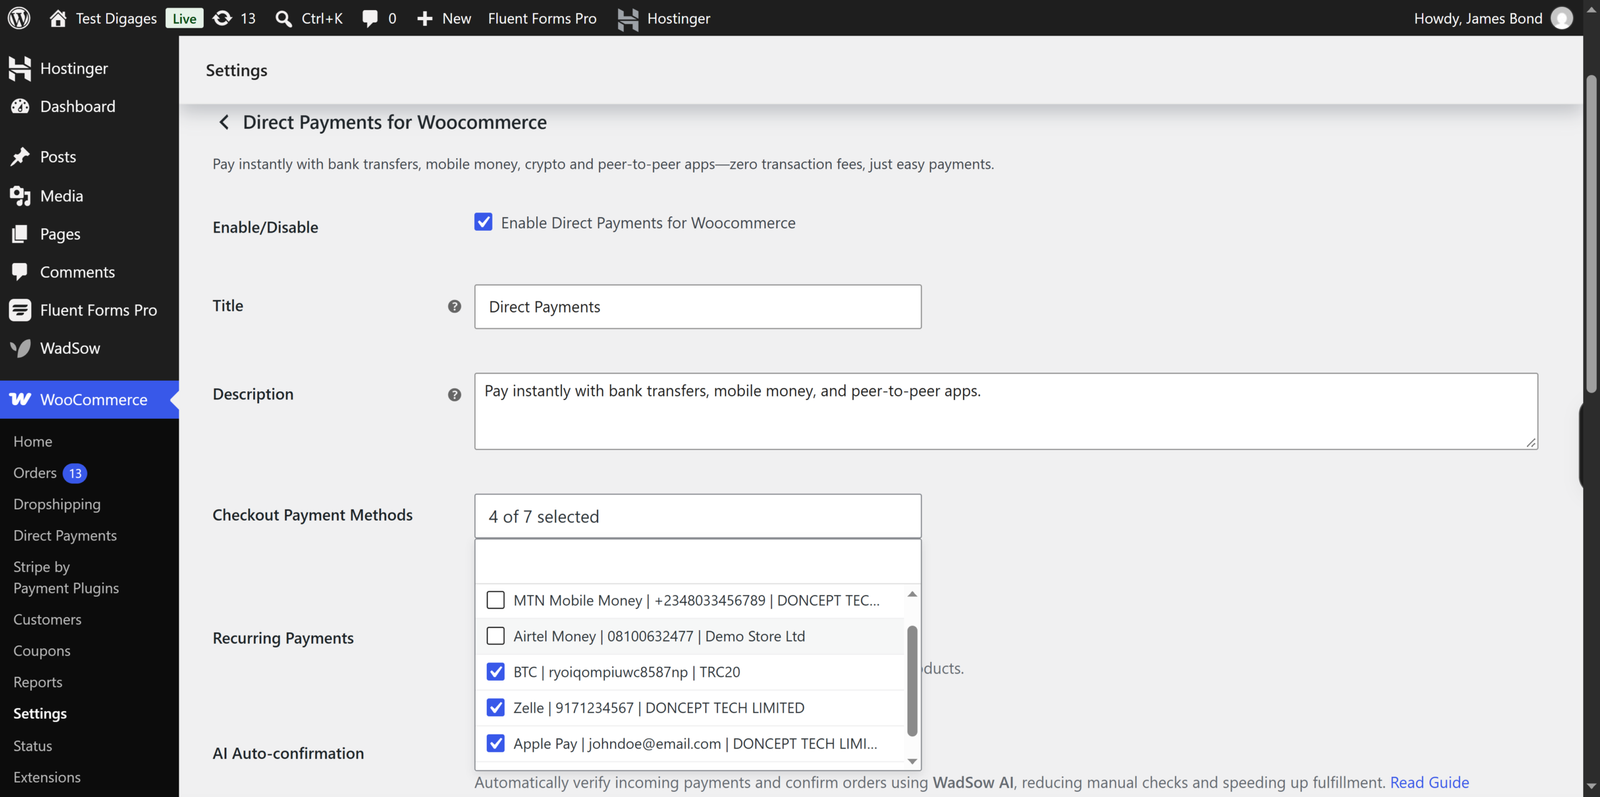
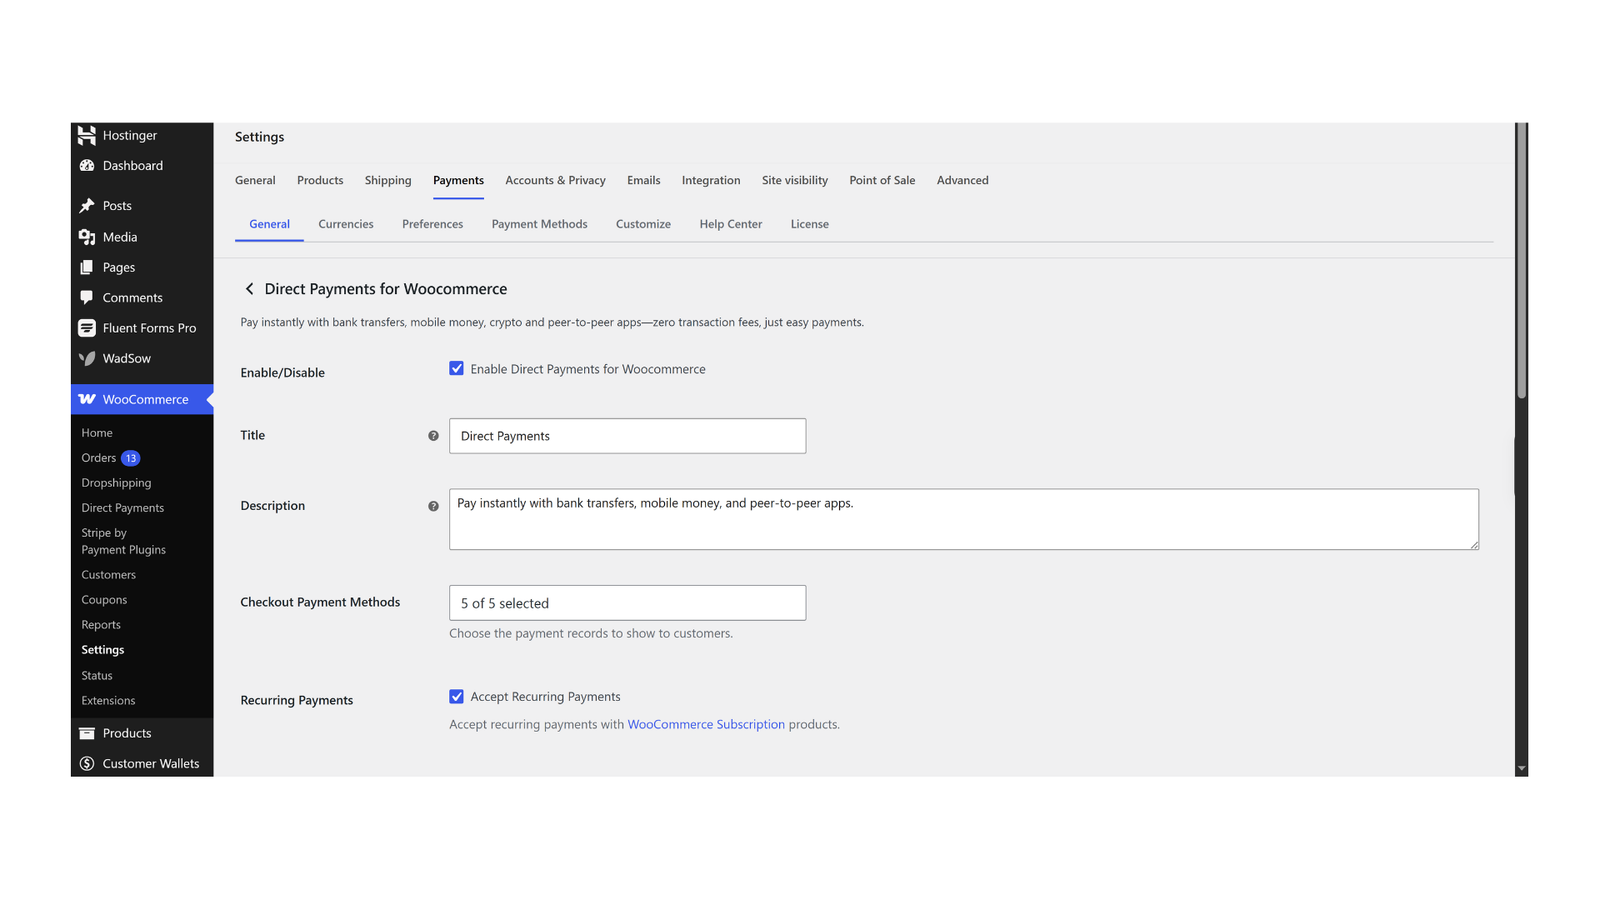
- In WooCommerce > Direct Payments > Settings > Checkout Payment Methods, ensure that the new Apple Pay method you just added is selected.
- This will allow customers to use it as a payment option at checkout.