How to Create a Professional Invoice

Last modified: April 9, 2026

Introduction

Creating a professional invoice is essential for getting paid on time and maintaining a credible business image. A well-structured invoice does more than request payment—it clearly communicates what the customer is paying for, how to pay, and when payment is due.

With Direct Invoices, you can generate and send invoices directly from your WordPress dashboard. The plugin simplifies the entire process, from setting up your business details to delivering invoices through email or messaging platforms.

This guide walks you through how to install Direct Invoices, create a professional invoice, and send it to your recipient.

Purchase and Activation
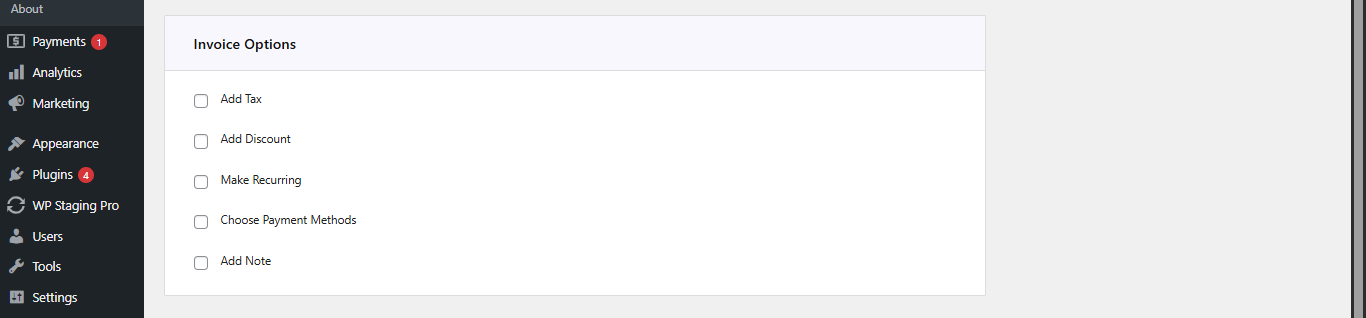
Purchase

Visit our Direct Invoices page. This page shows all the features available with our paid license levels. Pick one that suits your needs.

  • Select your preferred PRO plan.

  • Click Get Started to begin checkout.

After successful payment:

  • You will be redirected to the download page.

  • You will receive an email containing the link to download the plugin ZIP file.

If the download or license key is missing after payment, create a Support Ticket with Digages, and our team will respond within 24 hours.

Installation

After you have downloaded the Direct Invoices PRO Zip file

  1. Log in to your WordPress admin dashboard.

  2. Navigate to Plugins → Add New.

  3. Click Upload Plugin → Choose File, then select the Direct Invoices PRO Zip file you downloaded.

  4. Click Install Now and activate the plugin.

WordPress will automatically upload and unpack the plugin files during installation.

After activating the plugin, a new Invoices menu will appear in your sidebar.

License Activation

Activating your license enables all PRO features, automatic updates, and access to support.

  • On your WordPress dashboard, go to Plugins → Direct Invoices.
  • Open the License tab.
  • Paste your license key (from your Digages dashboard).
  • Click Activate License.

Once activated, all PRO features become available immediately.

Creating an Invoice

Add Invoice Details

To do this;

  • Go to Invoice → Create Invoice → Invoice Details
  • Then enter: Invoice Title, click Add Customer to input customer details, Select Currency, Set Invoice Date, and Set Due Date

Direct Invoice Details

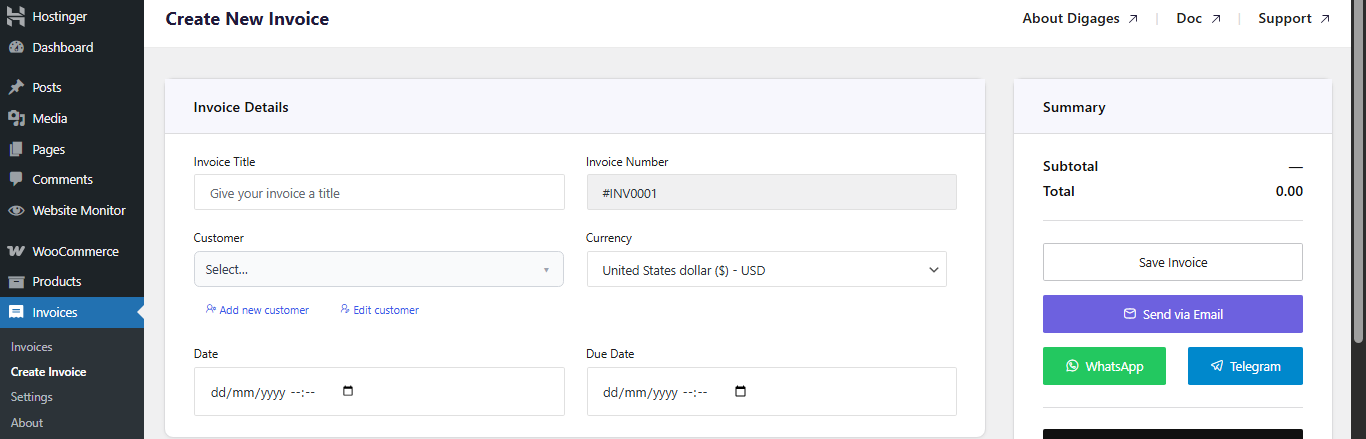
Always set a due date to enable automated reminders.

Add Invoice Items

  • Go to the Invoice Items section
  • Then add item: Custom service or WooCommerce product, Quantity, and Rate (Price)

Direct Invoices Invoice Items

Invoice items defines what the customer is being billed for.

Configure Invoice Options

Go to Invoice Options, then configure (as needed):

  • Add Tax (percentage)
  • Add Discount (fixed or percentage)
  • Enable Recurring Invoice (if needed, set the end recurring date)
  • Select Payment Account (This is a very important step; if this step is omitted, the invoice will not carry a payment account)
  • Add a Note(s) for the customer

Direct Invoice Invoice Options

Saving and Sending an Invoice
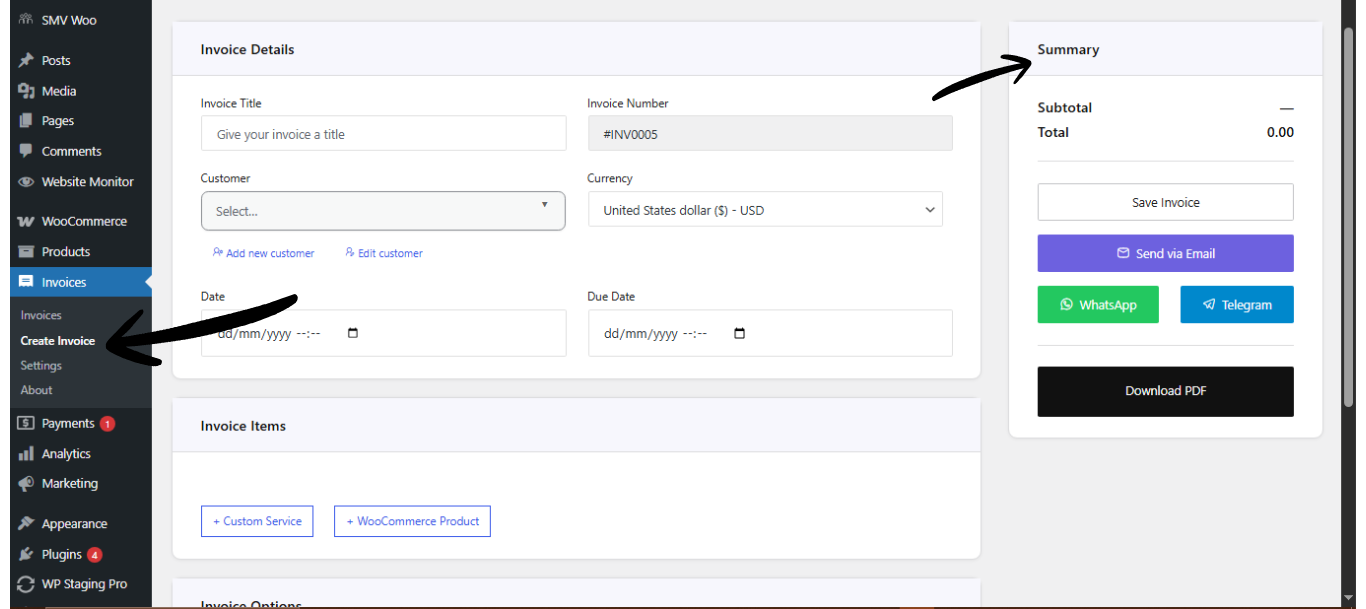
Invoice Summary

  • Go to Invoice Summary (top left area)
  • Click Save Invoice (this creates the invoice and allows you to send it)
  • After saving, choose how to send the invoice: via Email, WhatsApp, or Telegram
  • You can also download the invoice as a PDF.

Direct Invoices Invoice Summary

Tip:
Sending invoices via WhatsApp or Telegram often results in faster responses compared to email alone.

Final Thoughts

Direct Invoices makes it easy to create, manage, and send professional invoices directly from WordPress. By following a structured process, you can ensure clear communication, reduce payment delays, and maintain a consistent billing workflow.

Before sending invoices to customers, always test your setup to confirm that payment methods, templates, and delivery channels are working correctly.

Plugin:
Was this article helpful?
No